Installing Connect Tunnel Service
To install and configure Connect Tunnel Service:
|
2
|
|
3
|
Under Client Installation Packages, download the 32-bit or 64-bit installation packages for both Connect Tunnel and Connect Tunnel Service.
|
|
4
|
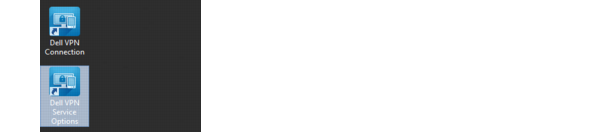
A shortcut named Dell VPN Connection is created on the desktop.
|
5
|
A shortcut named Dell VPN Service Options is created on the desktop.
|
6
|
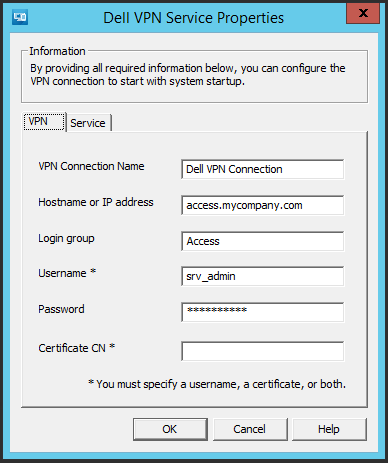
On the desktop, double-click the Dell VPN Service Options shortcut. Alternatively, double-click Dell VPN Service Options in the Control Panel. The Dell VPN Service Properties dialog box appears.
|
|
7
|
On the VPN tab, configure these settings:
|
|
Type the name of the Dell Connect Client connection object exactly as it appears in the Windows Network Connections window (Start|Connect To|Show All Connections). By default, this is Dell VPN Connection. |
|
|
Type the host name or IP address of the Dell SMA or EX Series appliance. |
|
|
Type the name of the realm used by users in this login group. |
|
|
Type the credentials for a user in this Login group. You must enter a username and password or a certificate CN. In some cases of chained authentication, both a username and certificate are required. |
|
|
8
|
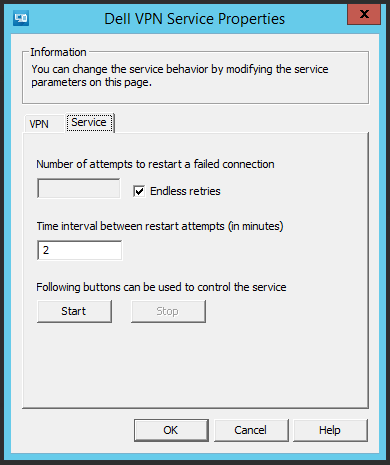
On the Service tab, configure the following settings:
|
|
9
|
|
10
|
To verify that Connect Tunnel started, open the Dell VPN Connection shortcut on the desktop. You should see the established connection.
|
Alternatively, you can issue the ipconfig command on the command line to verify that you have a virtual IP address for the Dell VPN Connection.