|
•
|
An existing zone, navigate to the Network > Zones page in the SonicOS management interface.
|
|
2
|
Under the Configure column, click the Edit icon for the zone where you wish to add Guest Services. The Edit Zone menu displays.
|
|
3
|
Click the Guest Services tab. Guest Services allows access to the Internet only.
|
|
4
|
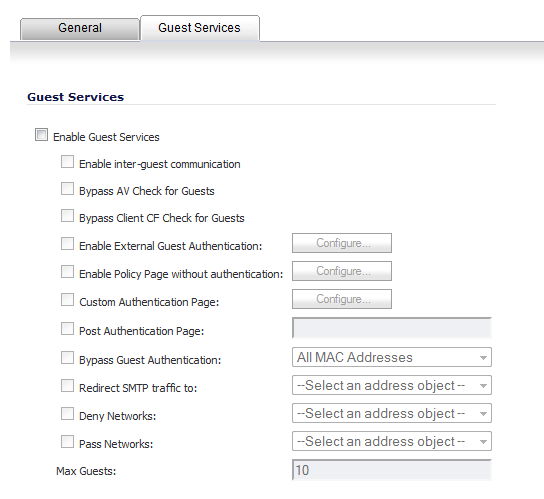
To grant access to guests and visitors, select Enable Guest Services. Guest services may be wired or wireless. This option must be selected to activate the other options.
|
|
5
|
|
6
|
Optionally, to allow guest traffic to bypass Anti-Virus protection, select Bypass AV Check for Guests.
|
|
7
|
Optionally, to allow guest traffic to bypass Client CF protection, select Bypass Client CF Check for Guests.
|
|
8
|
Optionally, to require guests connecting from the Guest Services Zone to authenticate before gaining access, select Enable External Guest Authentication. This feature, based on Lightweight Hotspot Messaging (LHM) is used for authenticating Hotspot users and providing them parametrically bound network access.
|
To configure external guest authentication, go to Configuring External Guest Authentication.
|
NOTE: Selecting Enable External Guest Authentication disables (dims) these options: Enable Policy Page without authentication, Custom Authentication Page, and Post Authentication Page.
|
|
9
|
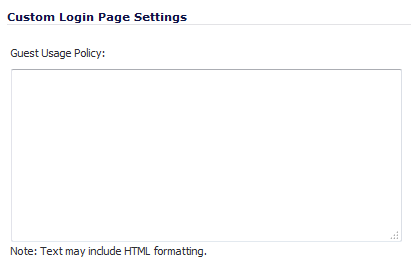
Optionally, to redirect users to a guest policy page when they first connect to a SonicPoint in the WLAN zone. select Enable Policy Page without authentication. To configure the guest policy page:
|
|
a
|
|
c
|
Click OK.
|
|
10
|
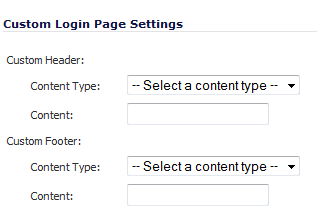
Optionally, to redirect users to a custom authentication page when they first connect to the Guest Services Zone, select Custom Authentication Page. To configure the custom authentication page:
|
|
a
|
Click Configure to set up the custom authentication page. The Customize Policy Message dialog displays.
|
|
b
|
|
c
|
In the Content fields, enter either:
|
|
•
|
A URL to an authentication page if you selected URL. The URL must be in the format http://www.domainname.com.
|
|
d
|
Click OK.
|
|
11
|
Optionally, to redirect users to a custom authentication page immediately after successful authentication when they first connect to the Guest Services Zone, select Post Authentication Page. Enter a URL for the post-authentication page in the field. The URL must be in the format http://www.domainname.com.
|
|
12
|
Optionally, to grant unrestricted Wireless Guest Services access, select Bypass Guest Authentication. This option allows the Guest Services feature to integrate into environments already using some form of user-level authentication. This feature automates the Guest Services authentication process, allowing wireless users to reach Guest Services resources without requiring authentication.
|
|
•
|
From the drop-down menu, select All MAC Addresses, Create new MAC Object…, or an existing Address Group.
|
|
13
|
Optionally, to redirect SMTP traffic incoming on this zone to a specified SMTP server, select Redirect SMTP traffic to.
|
|
14
|
Optionally, to block traffic to the named networks, select Deny Networks.
|
|
15
|
|
16
|
Optionally, to specify the maximum number of guest users allowed to connect to this zone, enter the number in the Max Guests field. The default setting is 10.
|
|
17
|
Optionally, to grant access to non_DHCP guests, select Enable Dynamic Address Translation (DAT). DAT allows the SonicPoint to support any IP addressing scheme for Guest Services users.
|
Dynamic Address Translation (DAT) is a form of Network Address Translation (NAT) that allows the system to support any IP addressing scheme for guest users. For example, the Wireless WLAN interface is configured with its default address of 172.16.31.1, and one guest client has a static IP address of 192.168.0.10 and a default gateway of 192.168.0.1, while another has a static IP address of 10.1.1.10 and a gateway of 10.1.1.1, and DAT enables network communication for both of these clients.
|
18
|
Click OK to apply these settings to this zone.
|