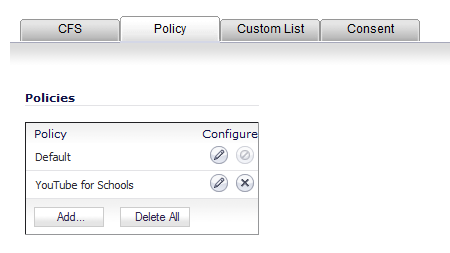
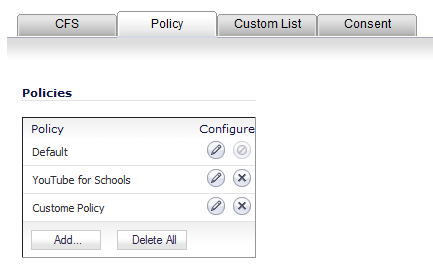
The Policy tab is only visible if the SonicWall appliance has a current subscription to SonicWall CFS Premium. The Policy tab allows you to modify the Default CFS policy and create custom CFS policies, which you can then apply to specific user groups in the Users > Local Groups page. The Default CFS policy is always inherited by every user. A custom CFS policy allows you to modify the default CFS configuration to tailor content filtering policies for particular user groups on your network.
|
NOTE: To ensure proper content filtering, the Default CFS policy should be configured to be the most restrictive policy, and then each custom policy should be configured to grant privileges that are otherwise restricted by the Default policy.
|
|
1
|
On the Policy tab of the SonicWall Filter Properties dialog, click Add to display the Add CFS Policy dialog.
|
|
2
|
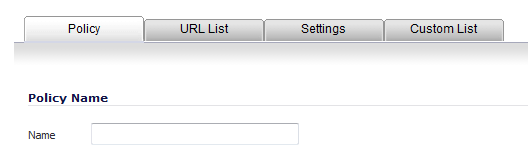
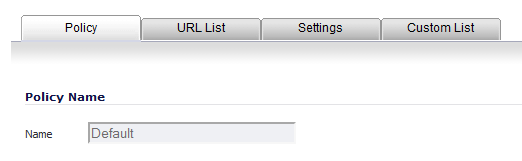
Enter a name for the policy in the Name field.
|
|
3
|
Click the URL List tab.
|
|
4
|
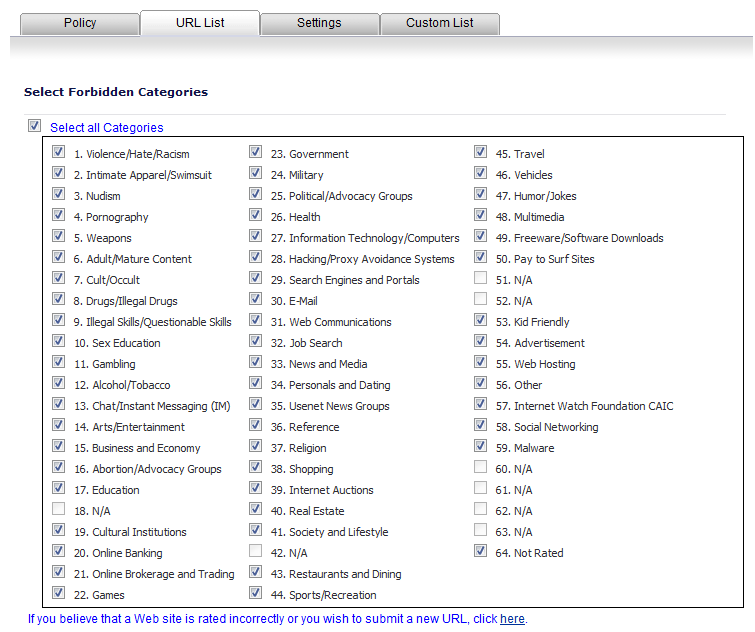
In the Select Forbidden Categories list, by default, the Select all Categories check box is checked. Uncheck any category to which you want to allow access. Select the Select all categories check box if you want to block all categories, or uncheck the check box to deselect all categories and select individual categories.
|
|
5
|
Click the Settings tab.
|
|
6
|
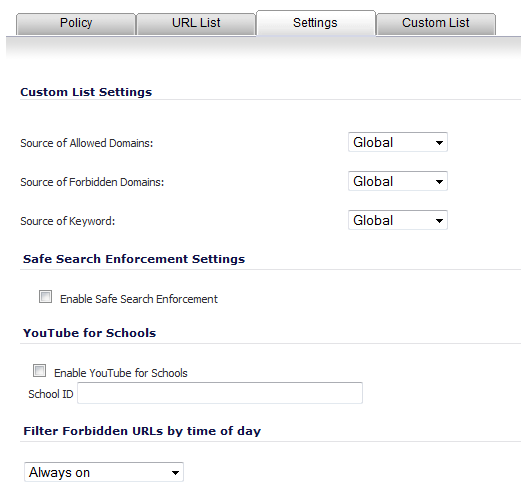
Under Custom List Settings, from the following drop-down menus, select any of these settings: Global (default), None, or Per Policy:
|
|
•
|
Source of Allowed Domains - Select the source of allowed domains/URLs that are listed on the Custom List tab:
|
|
•
|
Source of Forbidden Domains - Select the source of forbidden domains/URLs that are listed on the Custom List tab.
|
|
•
|
Source of Keyword - Select the source to enable keyword blocking for the keywords that are listed in the Forbidden Keyword field on the Custom List tab.
|
|
NOTE: The source for the Per Policy allowed domains, forbidden domains, and keywords are on the Custom List tab; see Step 10.
|
|
7
|
Under Safe Search Enforcement Settings, select Enable Safe Search Enforcement to enable the safe browsing options for certain search engines like Google and Yahoo.
|
|
a
|
Select Enable YouTube for Schools.
|
|
b
|
Enter your School ID.
|
For more information, seeSonicWall Legacy Content Filtering Service.
|
9
|
To configure the schedule for Content Filtering enforcement, select one of the following from the drop-down menu under Filter Forbidden URLs by time of day:
|
|
•
|
|
•
|
Specific times, such as Work Hours or M-T-W-Th-F 08:00 to 17:00 - When selected, Content Filtering is enforced only during the time and days specified.
|
|
10
|
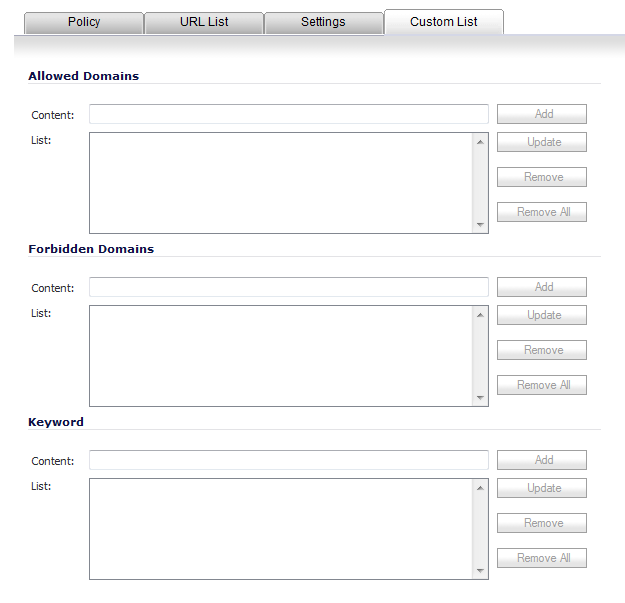
Click the Custom List tab.
|
|
CAUTION: Do not include the prefix “http://” in either the Allowed Domains or Forbidden Domains fields. All subdomains are affected. For example, entering “yahoo.com” applies to “mail.yahoo.com” and “my.yahoo.com”.
|
|
11
|
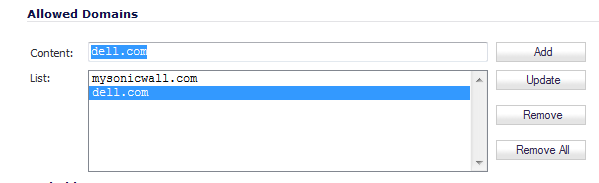
Enter an allowed URL in the Content field in the Allowed Domains section. A URL can be up to 80 characters.
|
|
12
|
|
13
|
Add multiple allowed domains by repeating Step 11 and Step 12 for each allowed domain. You can add up to 100 domains.
|
To delete a list entry, select it and click Remove. To remove all entries, click Remove All.
|
14
|
|
15
|
|
16
|
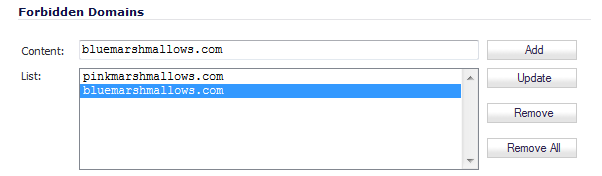
Add multiple forbidden domains by repeating Step 14 and Step 15 for each forbidden domain. You can add up to 100 domains.
|
To delete a list entry, select it and click Remove. To remove all entries, click Remove All.
|
17
|
|
18
|
|
19
|
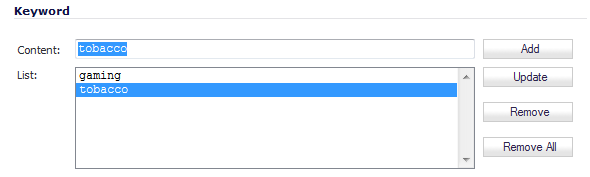
Add multiple keywords by repeating Step 17 and Step 18 for each keyword. You can add up to 100 keywords.
|
To delete a list entry, select it and click Remove. To remove all entries, click Remove All.
|
20
|
Click OK.
|
|
1
|
On the Security Services > Content Filter page, ensure the Content Filter Type is content Filter Service.
|
|
2
|
|
3
|
Click the Policy tab.
|
|
4
|
|
5
|
Click the URL List tab.
|
|
6
|
|
7
|
Click OK.
|