|
2
|
|
3
|
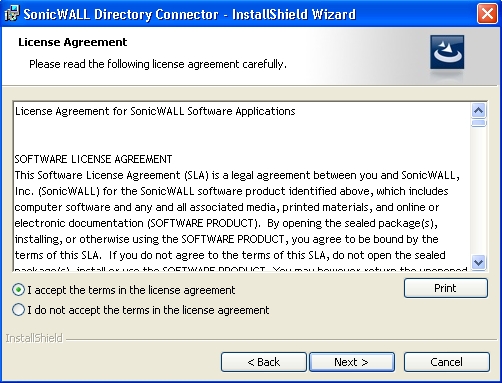
Select I accept the terms in the license agreement.
|
|
4
|
|
5
|
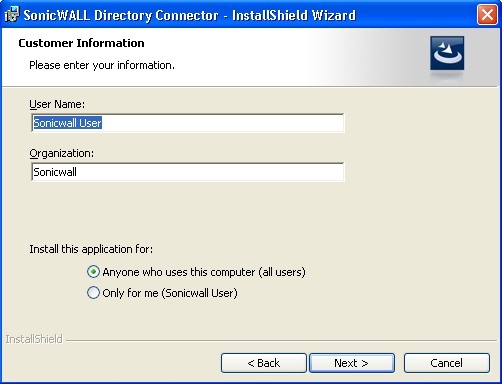
Enter your name in the User Name field and your organization name in the Organization field. Select to install the application for Anyone who uses this computer (all users) or Only for me.
|
|
6
|
|
•
|
|
•
|
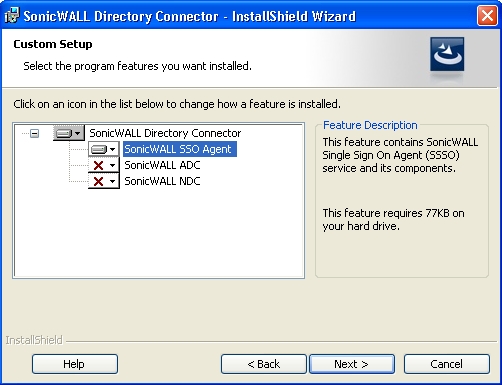
The Custom Setup page displays.
|
8
|
Optionally, you can select SonicWall NDC to enable SonicWall SSO to work with Novell users if this server has network access to the eDirectory server. For information about installing SonicWall NDC, see the SonicOS 5.6 SSO Feature Module, available on http://www.SonicWall.com/us/Support.html.
Optionally, you can also select SonicWall ADC if this server belongs to an Active Directory domain, and will be used to communicate with a SonicWall CSM appliance. For more information, see the SonicOS CF 2.6 Administrator’s Guide, available on http://www.SonicWall.com/us/Support.html.
|
9
|
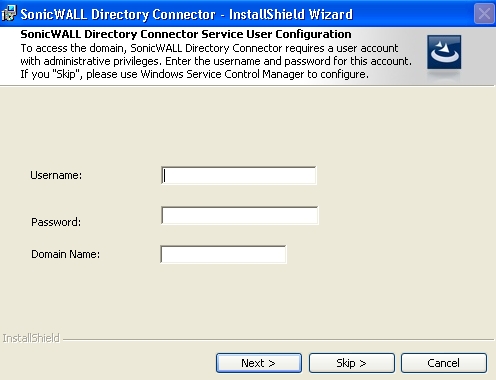
Click Install to install SSO Agent. The SonicWall Directory Connection Service User Configuration page displays.
|
|
•
|
Username of an account with administrative privileges in the Username field.
|
|
•
|
Password for the account in the Password field,
|
|
•
|
Domain name of the account in the Domain Name field.
|
|
11
|
|
12
|
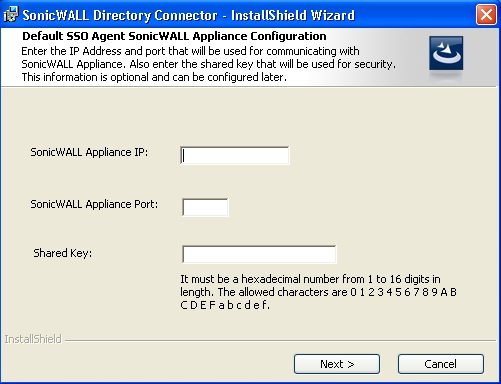
Enter the IP address of your SonicWall security appliance in the SonicWall Appliance IP field.
|
|
13
|
Enter the port number for the same appliance in the SonicWall Appliance Port field.
|
|
14
|
|
15
|
Click Next to continue. The SonicWall SSO Agent installs. The status bar displays.
|
|
16
|
When installation is complete, optionally check the Launch SonicWall Directory Connector check box to launch the SonicWall Directory Connector.
|
|
17
|
Click Finish.
|
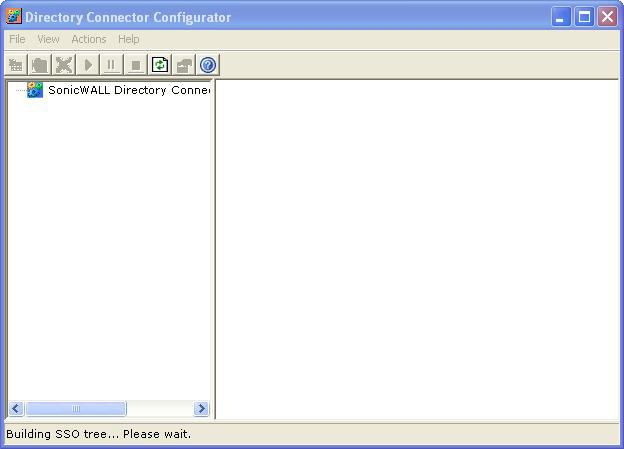
If you checked the Launch SonicWall Directory Connector check box, the SonicWall Directory Connector displays.
 displays by default next to the SonicWall SSO Agent feature. Click