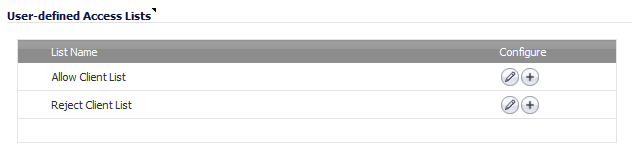
The two lists in the User-defined Access Lists section allow you to manage static allow and reject lists by designating which clients are allowed or denied connection to deliver email.
|
1
|
|
2
|
Click the Edit icon for the list, Allow Client List or Reject Client List, you want to configure. The Allow/Reject Client List dialog displays.
|

|
4
|
Click the Right Arrow button.
|
To remove items from the Allow List:
|
b
|
Click the Left Arrow button.
|
|
5
|
When finished, click the OK button.
|
|
1
|
Scroll to the User-defined Access Lists section.
|
|
2
|
|
3
|
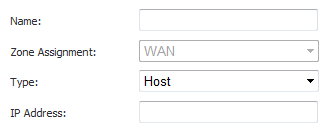
Enter a name for the host in the Name field.
|
|
4
|
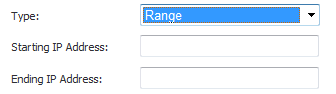
Select the type of host from the Type drop-down menu. The following setting(s) change, depending on the host type selected.
|
|
•
|
Host (default) – enter the IP address in the IP Address field.
|
|
•
|
Range – enter the starting and ending IP addresses in the Starting IP Address and Ending IP Address fields.
|
|
•
|
FQDN – enter the FQDN hostname in the FQDN Hostname field.
|

|
6
|
Click OK.
|