You use the VPN Policy Wizard to create the site-to-site VPN policy.
|
1
|
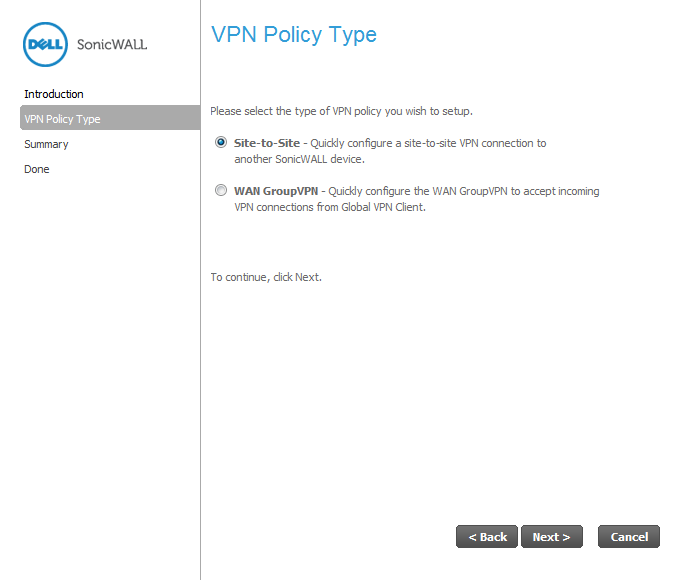
Click the Wizard button on the top-right corner of the SonicOS management interface. In the Welcome screen, select the VPN Policy Wizard and then click Next.
|
|
2
|
|
3
|
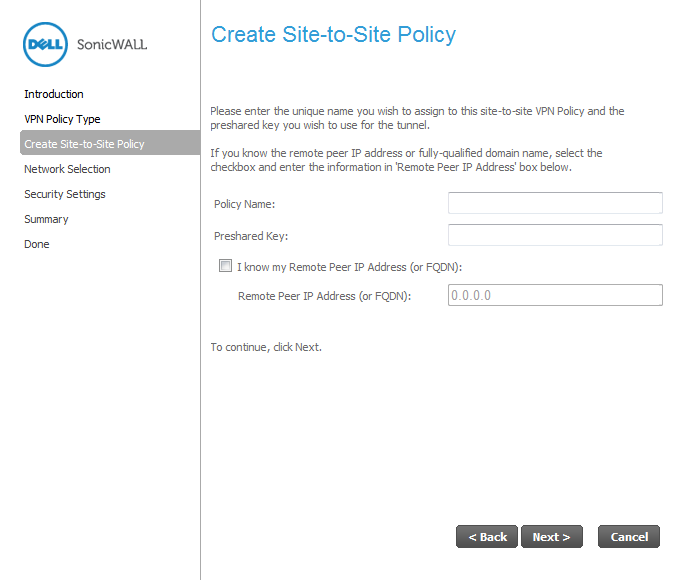
In the Create Site-to-Site Policy page, enter the following information:
|
|
•
|
|
4
|
Click Next.
|
|
5
|
In the Network Selection page, select the local and destination resources this VPN will be connecting:
|

|
a
|
Select Create new Address Group.
|

|
b
|
In the Name field, enter “LAN Group”.
|
|
c
|
|
d
|
Click OK to create the group and return to the Network Selection page.
|
|
e
|
In the Destination Networks field, select the newly created group.
|
|
6
|
Click Next.
|
|
7
|
In the IKE Security Settings page, select the security settings for IKE Phase 2 negotiations and for the VPN tunnel. You can use the default settings.
|

|
8
|
The Configuration Summary page details the settings that will be pushed to the security appliance when you apply the configuration.
|
|
9
|
Click Accept to create the VPN.
|