IMPORTANT: To configure Tunnel All Mode, you must also:
|
1
|
Configure an address object for 0.0.0.0.
|
When you enable Tunnel All mode, you force all traffic for NetExtender users over the SSL VPN NetExtender tunnel—including traffic destined for the remote user’s local network. Table 88 shows the routes added to the remote client’s route table when you enable Tunnel All mode:
NetExtender also adds routes for the local networks of all connected Network Connections. These routes are configured with higher metrics than any existing routes to force traffic destined for the local network over the SSL VPN tunnel instead. For example, if a remote user is has the IP address 10.0.67.64 on the 10.0.*.* network, the route 10.0.0.0/255.255.0.0 is added to route traffic through the SSL VPN tunnel.
|
IMPORTANT: To configure Tunnel All Mode, you must also:
|
|
1
|
Navigate to SSL VPN > Client Routes.
|
|
2
|
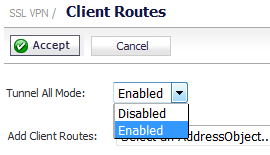
|
3
|
Click Accept.
|
|
4
|
|
5
|
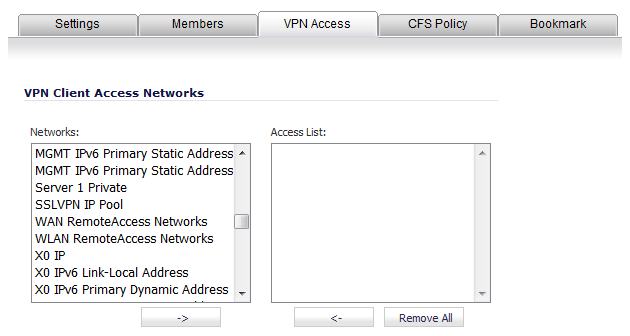
Click on the Configure button for an SSL VPN NetExtender user or group. The Edit Group dialog displays.
|
|
6
|
Click on the VPN Access tab.
|
|
7
|
Select the WAN RemoteAccess Networks address object.
|
|
8
|
Click the Right Arrow (->) button.
|
|
9
|
Click OK.
|