|
1
|
Navigate to the VPN > Settings page.
|
|
2
|
For the WAN GroupVPN policy, click the Configure icon.
|
|
3
|
On the General tab, select IKE using Preshared Secret from the Authentication Method drop-down menu.
|
|
4
|
Enter a shared secret passphrase in the Shared Secret field to complete the client policy configuration.
|
|
5
|
Click the OK button.
|
|
6
|
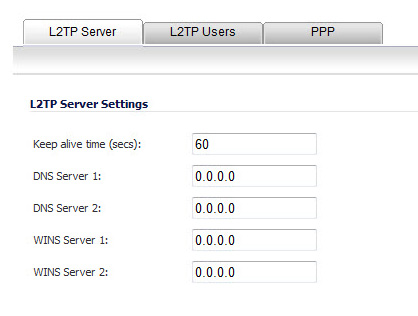
Navigate to the VPN > L2TP Server page.
|
|
7
|
|
8
|
|
•
|
|
•
|
DNS Server 1: 199.2.252.10 (or use your ISP’s DNS)
|
|
•
|
DNS Server 2: 4.2.2.2 (or use your ISP’s DNS)
|
|
•
|
DNS Server 3: 0.0.0.0 (or use your ISP’s DNS)
|
|
•
|
WINS Server 1: 0.0.0.0 (or use your WINS IP)
|
|
•
|
WINS Server 2: 0.0.0.0 (or use your WINS IP)
|
|
•
|
Use the Local L2TP IP pool: Enabled (selected; the default)
|
|
•
|
Start IP: 10.20.0.1 (example)
|
|
•
|
End IP: 10.20.0.20 (example)
|
|
11
|
|
12
|
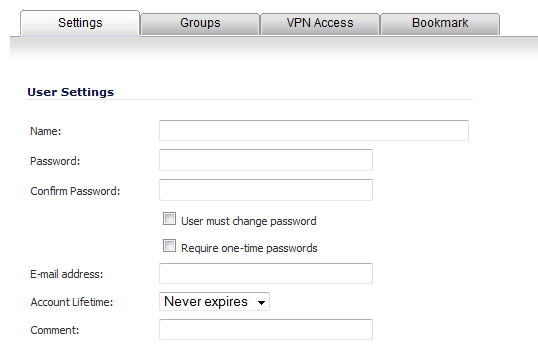
Navigate to the Users > Local Users page.
|
|
13
|
|
14
|
|
15
|
Click OK.
|
|
NOTE: By editing the Firewall > Access Rules for the VPN LAN zone or another VPN zone, you can restrict network access for L2TP clients. To locate a rule to edit, select the All Rules view of the Access Rules table and look at the Source column. The address object in the Source column of applicable rows displays "L2TP IP Pool".
|
|
•
|
Enter the Public (WAN) IP address of the firewall. Alternatively, you can use a domain name that points to the firewall. Click Next, then click Finish. The connection dialog will appear. Click Properties.
|
|
17
|
Verify your Microsoft Windows L2TP VPN device is connected by navigating to the VPN > Settings page. The VPN client is displayed in the Currently Active VPN Tunnels section.
|