The following sections describe how to configure the settings on the Security Services > Content Filter page using legacy Content Filtering methods.
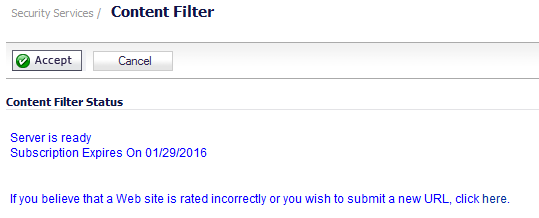
If CFS is activated, the Content Filter Status section displays the status of the Content Filter Server, as well as the date and time that your subscription expires.
You can also access the SonicWALL CFS URL Rating Review Request form by clicking on the here link in If you believe that a Web site is rated incorrectly or you wish to submit a new URL, click here.
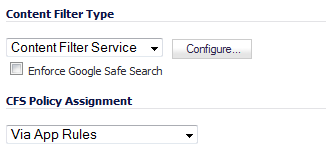
There are two types of content filtering available on the firewall. These options are available from the Content Filter Type drop-down menu:
|
•
|
SonicWALL Content Filter Service - Selecting Content Filter Service allows you to access SonicWALL CFS functionality that is included with SonicOS, and also to configure CFS Custom Policies that are available only with a valid subscription. You can obtain more information about SonicWALL Content Filtering Service at http://www.sonicwall.com/products/cfs.html
|
When Content Filter Service is selected, you need to select how content Filtering is to be enforced from the CFS Policy Assignment drop-down menu:
|
•
|
Via App Rules – Enforced through App Rules polices configured through the Firewall > App Rules page. This is the default selection.
|
|
•
|
Via User and Zone Screens – Enforced per zone from settings on the Network > Zones page. When this is selected, a link is provided to the Network > Zones page: Note: Enforce the Content Filtering Service per zone from the Network > Zones page.
|
|
•
|
Websense Enterprise - Websense Enterprise is a third party content filter list supported by Dell SonicWALL network security appliances. When this is selected, the CFS Policy Assignment section is no longer displayed and a link is provided to the Network > Zones page: Note: Enforce the Content Filtering Service per zone from the Network > Zones page.
|

Restrict Web Features enhances your network security by blocking potentially harmful Web applications from entering your network. Restrict Web Features are included with SonicOS. Select any of the following applications to block:
|
•
|
ActiveX - A programming language that embeds scripts in Web pages. Malicious programmers can use ActiveX to delete files or compromise security. Select the ActiveX checkbox to block ActiveX controls.
|
|
•
|
Java - Used to download and run small programs, called applets, on Web sites. It is safer than ActiveX as it has built-in security mechanisms. Select the Java checkbox to block Java applets from the network.
|
|
•
|
Cookies - Used by Web servers to track Web usage and remember user identity. Cookies can also compromise users' privacy by tracking Web activities. Select the Cookies checkbox to disable Cookies.
|
|
•
|
Access to HTTP Proxy Servers - When a proxy server is located on the WAN, LAN users can circumvent content filtering by pointing their computer to the proxy server. Select this checkbox to prevent LAN users from accessing proxy servers on the WAN.
|
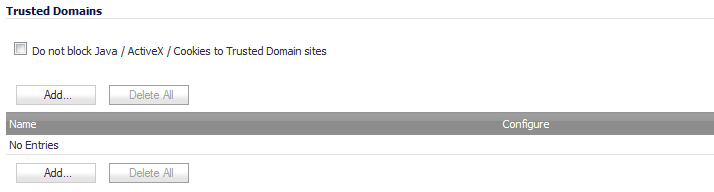
Trusted Domains can be added to enable content from specific domains to be exempt from Restrict Web Features.
|
1
|
Select the Do not block Java/ActiveX/Cookies to Trusted Domains checkbox.
|
|
2
|
![]()
|
3
|
Enter the trusted domain name in the Domain Name field.
|
|
4
|
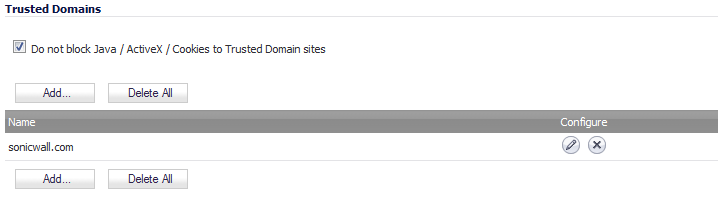
To keep the trusted domain entries but enable Restrict Web Features, clear the Do not block Java/ActiveX/Cookies to Trusted Domains checkbox.
To delete an individual trusted domain, click on the Delete icon for the entry. To delete all Trusted Domains, click the Delete All button.
To edit a trusted domain entry, click its Edit icon. the Edit Trusted Domain Entry dialog displays, which is the same as the Add Trusted Domain Entry dialog.
![]()
The Do not bypass CFS blocking for the administrator checkbox in the CFS Exclusion for the Administrator section controls content filtering for administrators. By default, when you (admin user) are logged into the SonicOS management interface from a system, CFS blocking is suspended for that system’s IP address for the duration of the authenticated session. If you prefer to provide content filtering and apply CFS policies to the IP address of your system, select the Do not bypass CFS blocking for the administrator checkbox.

To manually add IP addresses to the CFS exclusion list, select the Enable CFS Exclusion List checkbox. To keep the CFS exclusion list entries, but temporarily allow access to blocked sites, leave the feature disabled (unchecked).
|
1
|
Select the Enable CFS Exclusion List checkbox. The radio buttons and drop-down menu become active.
|

|
2
|
Select one of the Exclude from options:
|
|
•
|
CFS only – Traffic from the IP addresses in the excluded list bypass content filtering, but do not bypass access rules that require authentication.
|
|
•
|
CFS and user authentication in access rules (default) — In addition to bypassing CFS, traffic from the IP addresses in the excluded list are allowed through by access rules that require user authentication even if the user is not authenticated (if Single Sign-On is used, it is not triggered).
|
|
3
|
|
4
|
Click Accept on the Security Services > Content Filter page. The IP address range is added to the CFS Exclusion List.
|
|
1
|
To keep the CFS Exclusion List entries but temporarily allow content filtering to be applied to these IP addresses, clear the Enable CFS Exclusion List checkbox.
|
|
2
|
|
1
|
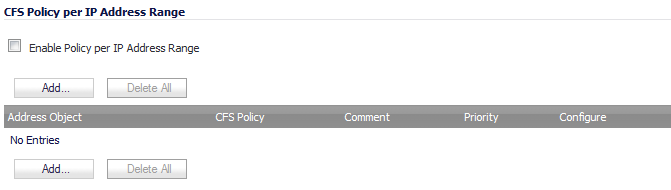
Scroll down to the CFS Policy per IP Address Range section.
|
|
2
|
Select the Enable Policy per IP Address Range checkbox.
|
|
3
|

|
4
|
Select an address object from the CFS Address Object drop-down menu or create a new one (for information about configuring address objects, see Configuring Address Objects ).
|
|
5
|
Select the CFS policy to apply to this CFS address object in the CFS Policy: drop-down menu.
|
|
6
|
Optionally, add a comment about this IP address range in the Comment: field.
|
|
7
|
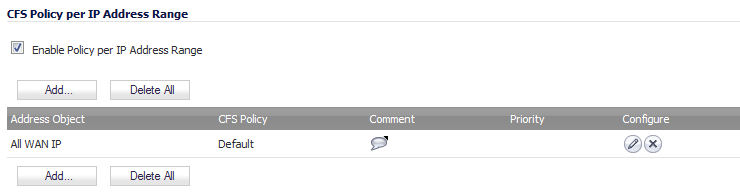
To delete an individual address object, click on the Delete icon for the entry. To delete all address objects in the table, click the Delete All button.
To edit an address object, click its Edit icon. the Edit CFS Policy per IP Range dialog displays, which is the same as the Add CFS Policy per IP Range dialog.

To revert to the default blocked page message, click the Default Blocked Page button.
If you have not modified the provided code, clicking the Preview button displays the default web page. The Block policy, Client IP address, and the reason for the block are shown:

For information on setting up Content Filter Properties, see Configuring Legacy SonicWALL Filter Properties.