|
1
|
In the Frequency Settings section of the Anti-Spam > Junk Box Summary page, select how often summaries are sent to you from the Frequency of Summaries drop-down menu.
|
Minimum frequency is 14 Days, maximum is 1 Hour, the default is 1 Day. To prevent summaries from being sent to you, select Never.
|
2
|
Select from the Time of day to send summary options to customize the time your users receive email notifications.
|
|
•
|
Any time of day (default)
|
|
•
|
Within an hour of – select a time of day from the drop-down menu; the default is 12 AM
|
|
3
|
If you selected 7 Days or 14 Days from the Frequency of summaries drop-down menu, the Day of week to send summary options become available. To customize the date your users receive email notifications, select either:
|
|
•
|
Any day of the week (default)
|
|
•
|
Send summary on – select a day of the week from the drop-down menu; the default is Monday
|
|
4
|
Optionally, from the Time Zone drop-down menu, select the Greenwich Mean Time (GMT) to be used in determining the frequency.
|
|
5
|
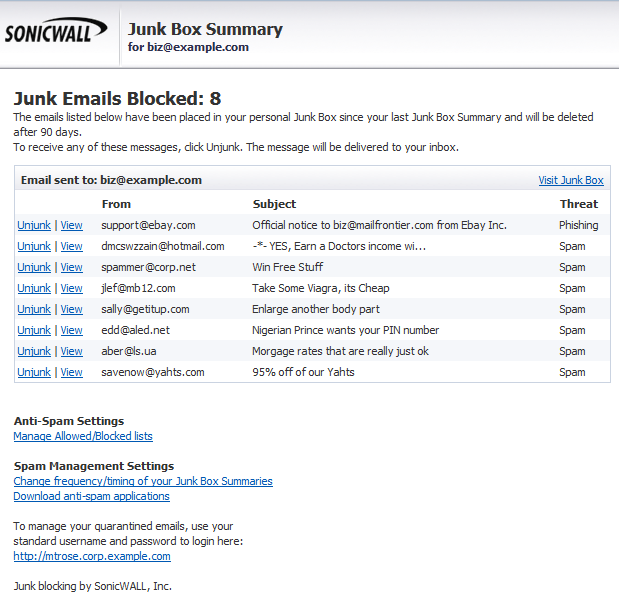
In the Message Settings section, select what to include in the message summary from the Summaries include options:
|
|
•
|
All Junk Messages (default)
|
|
6
|
Optionally, select a language for the emails from the Language of summary emails drop-down menu.
|
|
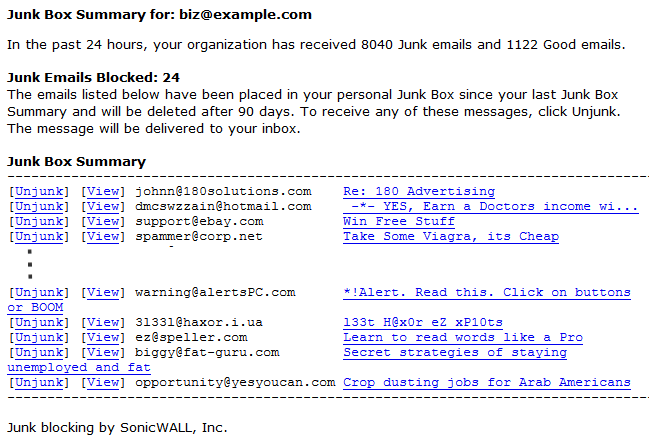
7
|
For Send plain summary (no graphics), select whether the summary does not contain graphics by clicking the Plain summary check box. By default, graphics are included in the summary.
|
|
8
|
In the Miscellaneous Settings section, choose how email junkbox summary notifications are viewed from the Enable “single click” view of messages options:
|
|
•
|
|
•
|
|
9
|
To allow your users to authenticate to unjunk email messages, select the Enable Authentication to Unjunk check box. This option is not selected by default.
|
|
10
|
To limit junk box summaries notifications to users in LDAP, select the Only send Junk Box Summary emails to users in LDAP check box.
|
|
11
|
To enable authentication of non-LDAP users, click the To enable authentication of non ldap users Click here link. The Anti-Spam > Users page displays; for more information about managing users, see Managing Users.
|
|
12
|
In the Other Settings section, choose how the summary is to be sent by selecting an option from Email address from which summary is sent:
|
|
•
|
|
13
|
In the Name from which summary is sent field, enter the name to be displayed in the user’s email for the summary emails. The default name is Admin Junk Summary.
|
|
14
|
In the Email subject field, enter the subject line for the Junk Box Summary email. The default is Summary of junk emails blocked.
|
|
15
|
The URL for user view field is filled in automatically based on your server configuration. It is the basis for all the links in the Junk Box Summary email. If this setting is configured, each user Junk Box Summary emails listing that user’s received email threats are sent.
|
Junk Box Summary emails contain URLs to:
|
IMPORTANT: If you change this URL, to ensure connectivity, test the link if you make any changes by clicking the Test Connectivity
 button. If the test fails, ensure the URL is correct. button. If the test fails, ensure the URL is correct. |
|
16
|
Click the Apply Changes button.
|