Creating client routes causes access rules to be created automatically to allow this access. Alternatively, you can manually configure access rules for the SSL VPN zone on the Firewall > Access Rules page. For more information, see Configuring Firewall Access Rules .
After configuring Client Routes for SSL VPN, you must also configure all SSL VPN NetExtender users and user groups to be able to access the Client Routes on the Users > Local Users or Users > Local Groups pages.
|
1
|
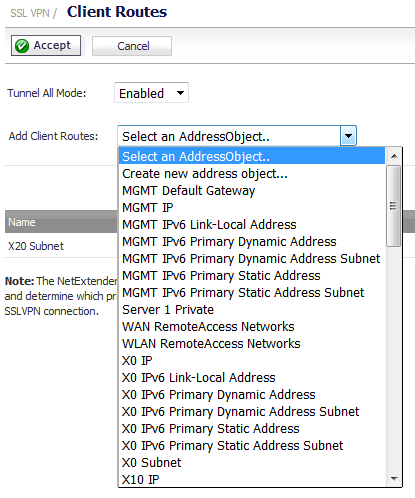
Navigate to the SSL VPN > Client Routes page.
|
|
2
|
To configure access to network resources for SSL VPN users, from the Add Client Routes drop-down menu, select either:
|
|
•
|
Create new address object to create a new address object.
|
|
3
|
Click Accept.
|
|
4
|
|
5
|
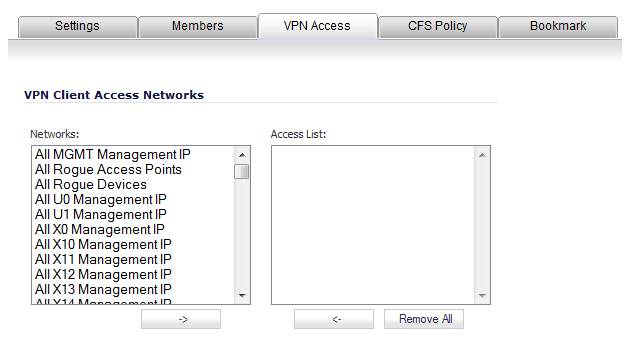
Click on the Configure button for an SSL VPN NetExtender user or group. Depending on which page you are on, the Edit User or Edit Group dialog displays.
|
|
6
|
Click on the VPN Access tab.
|
|
8
|
Click the Right Arrow (->) button.
|
|
9
|
Click OK.
|