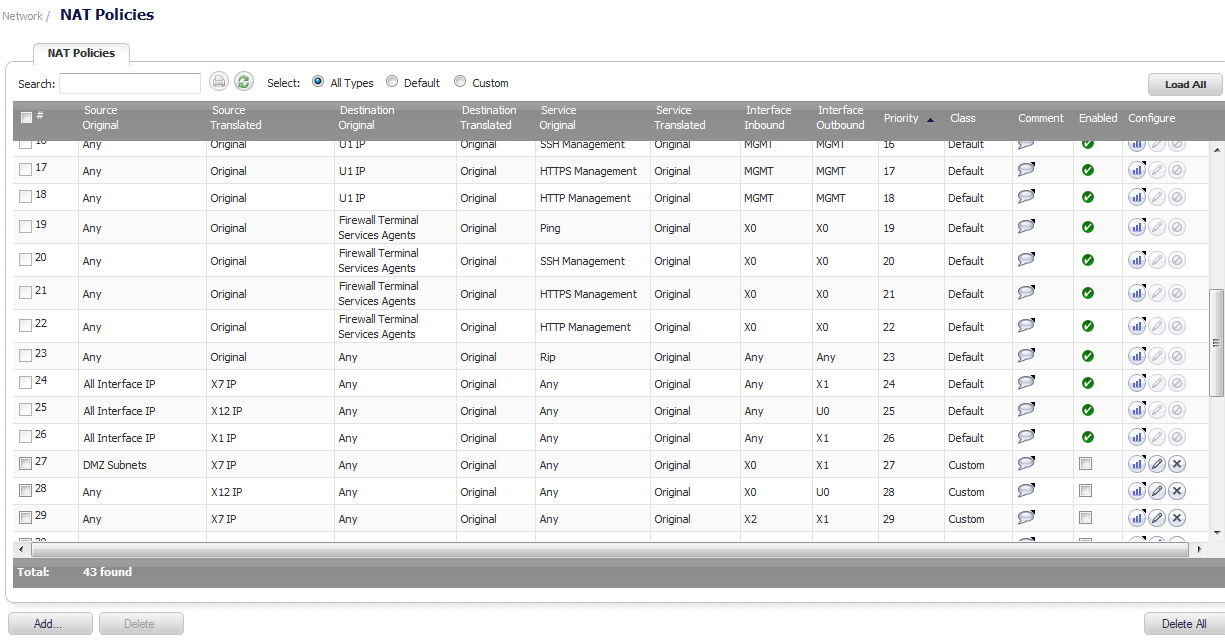
The NAT Policies table allows you to view your NAT Policies by All Policies, Custom Policies, or Default Policies.
You can change the view your route policies in the NAT Policies table by selecting one of the view settings in the View Style menu. All Policies displays all the routing policies including Custom Policies and Default Policies. Initially, only the Default Policies are displayed in the Route Policies table when you select All Policies from the View Style menu.
The NAT Policies table provides easy pagination for viewing a large number of VPN policies. You can navigate a large number of VPN policies listed in the Route Policies table by using the navigation control bar located at the top right of the Route Policies table. Navigation control bar includes four buttons. The far left button displays the first page of the table. The far right button displays the last page. The inside left and right arrow buttons move to the previous or next page respectively.
You can enter the policy number (the number listed in the # column) in the Items field to move to a specific VPN policy. The default table configuration displays 50 entries per page. You can change this default number of entries for tables on the System > Administration page.
Moving your pointer over the Comment icon in the Configure column of NAT Policies table displays the comments entered in the Comments field of the Add NAT Policy window.
Moving your pointer over the Statistics icon in the Configure column of NAT Policies table displays traffic statistics for the NAT policy.
Clicking the Delete icon deletes the NAT Policy entry. If the icon is dimmed, the NAT Policy is a default entry, and you cannot delete it.
