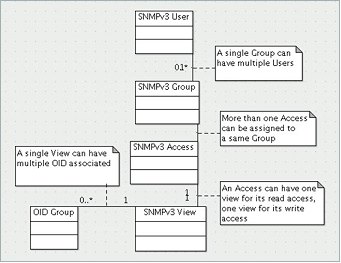
SNMPv3 Group Access with Different Permission Levels
A View shows access settings for Users or Groups. You create settings for users and groups; these security settings are not User-modifiable. A View defines the Object IDs (OIDs) and Object ID Groups (OID Groups), and is sometimes known as the SNMPv3 Access Object.
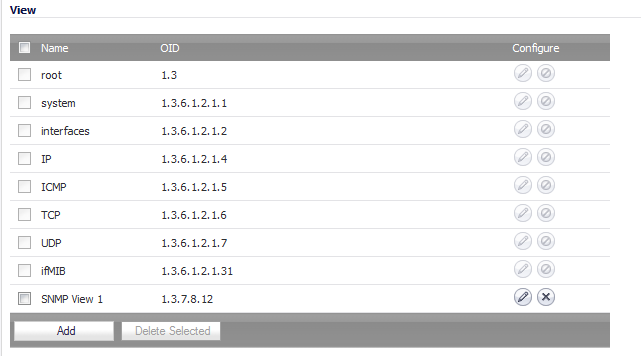
The initial set of default views cannot be changed or deleted. The OIDs for the default views are pre-assigned, and they reflect the most often used views: root, system, IP, interfaces, ICMP, TCP, UDP, and ifMIB.
The View section of the System > SNMP page lists both default and custom views by name and OID.
|
1
|
|
2
|
|
3
|
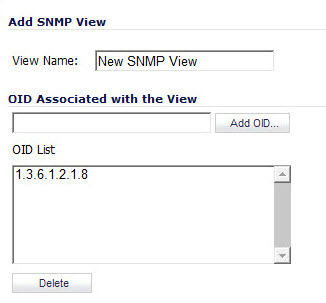
Enter an unassigned OID in the OID Associated with the View field.
|
|
4
|
|
6
|
|
1
|
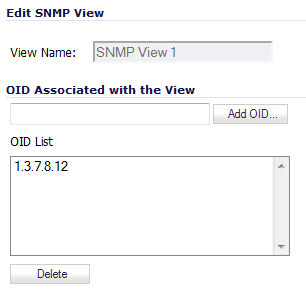
To modify a view, under View, click the Edit icon for the view to be modified. The Edit SNMP View dialog displays.
|
|
2
|
Enter an unassigned OID in the OID Associated with the View field.
|
|
3
|
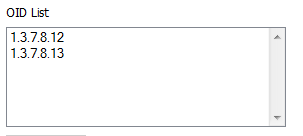
To delete an OID, select it in the OID List and then click the Delete button.
|
5
|
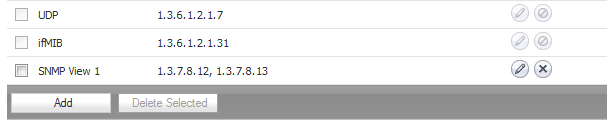
To delete a View, click its check box in the View table, and then click the Delete Selected button.
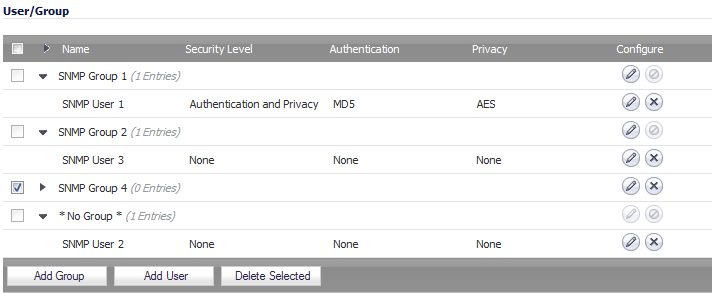
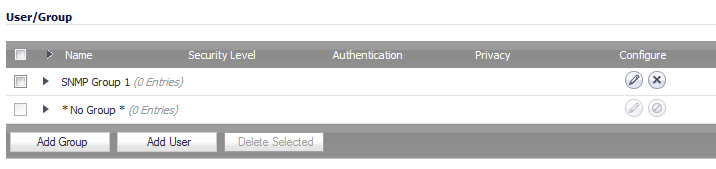
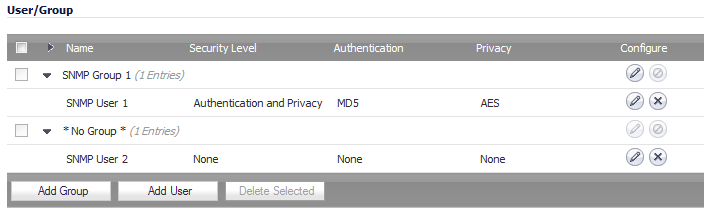
The User/Group table lists the Users and Groups to which they belong. For each user, the table displays the Groups and Users by Name, the number of users in each Group, and, for Users, the Security Level (if any), the Authentication mode (if any), and the Privacy mode (if any). There is a default Group of “No Group”, which initially has no Users. You can add Users to this default group or to custom Groups you’ve created.
To display the users in a Group, click the triangle before the Group’s name.
|
1
|
|
2
|
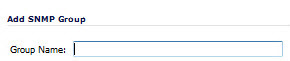
Enter a name for the Group in the Group Name field. The group name can contain up to 32 alphanumeric characters.
|
|
3
|
Click OK.
|
The Group is added to the User/Group table:
|
•
|
Select its checkbox and then click Delete Selected.
|
|
•
|
Click the Delete icon for the Group.
|
|
NOTE: “No Group” cannot be modified or deleted. A Group that has associated Users cannot be deleted.
|
|
1
|
|
2
|
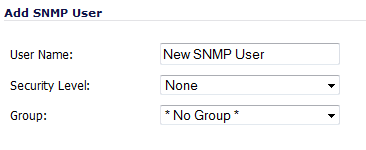
Enter the User Name in the User Name field. The default name is New SNMP User.
|
|
3
|
Select the security level from the Security Level drop-down menu:
|
|
•
|
None (default)
|
|
•
|
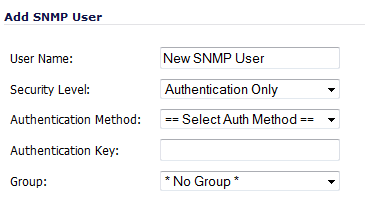
Authentication – If selected, the options expand and you will be asked for an Authentication Method and Authentication Key.
|
|
•
|
|
•
|
In the Authentication Key field, enter the authentication key. The key can be any string of printable characters
|
|
•
|
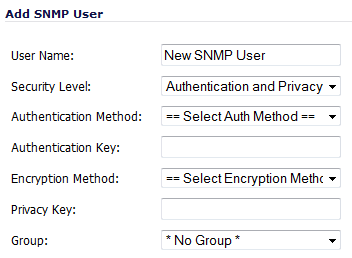
Authentication and Privacy – if selected, the options expand and you will be asked for an Encryption Method and Privacy Key as well as the authentication options.
|
|
•
|
|
•
|
In the Privacy Key field, enter the encryption key. The key can be any string of printable characters, but they will be displayed as bullets in the window.
|
|
4
|
Optionally, select a Group of which the User will be a member from the Group drop-down menu. If you do not select a Group, the user will be associated with the default Group, “No Group”.
|
|
5
|
Click OK when finished.
|
The user is added to the list and to the appropriate group. If “No Group” is selected as the Group, the user is added as a member of “No Group”.
To delete a User, click its Delete icon in the Configure column.
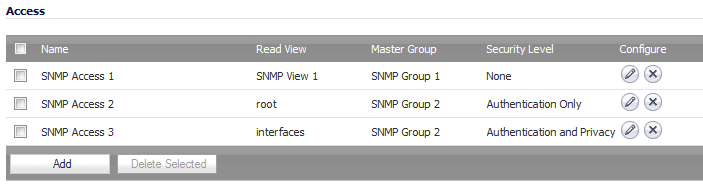
SNMPv3 Access is an object that:
Access objects are shown in the Access table, which shows this information about each Access object:
|
•
|
|
•
|
Security Level (if any)
|
|
1
|
|
2
|
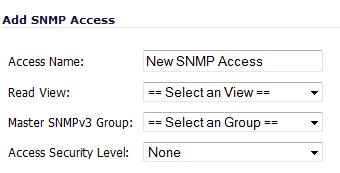
Enter a name in the Access Name field.
|
|
3
|
Select the Read View from the drop-down menu. The menu lists both default and custom Views.
|
|
4
|
Select a Master SNMPv3 Group from the drop-down menu.
|
|
5
|
Select a security level for the Access Security Level drop-down menu: None, Authentication Only, or Authentication and Privacy.
|
|
6
|
|
1
|
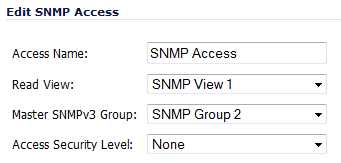
In the Access table, click the Edit icon for the Access object you wish to modify. The Edit SNMP Access dialog displays.
|
|
3
|
To delete an Access object, click the Delete icon for that Access object.
To delete multiple Access objects, select their check boxes and then click the Delete Selected button under the Access table.
To delete all Access objects, click the check box in the header for the Access table and then click the Delete Selected button under the Access table.