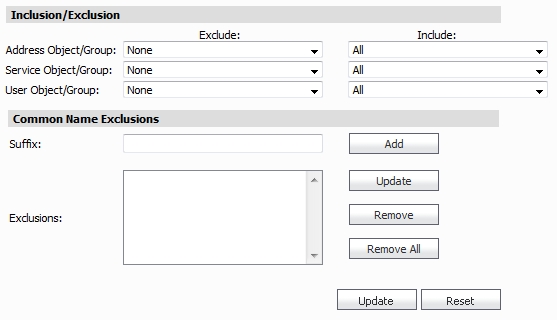
 The Inclusion/Exclusion section of the Client SSL page contains three options for specifying the inclusion list:
|
•
|
On the Address Object/Group line, select an address object or group from the Exclude pull-down menu to exempt it from DPI-SSL inspection.
|
|
•
|
On the Service Object/Group line, select a service object or group from the Exclude pull-down menu to exempt it from DPI-SSL inspection.
|
|
•
|
On the User Object/Group line, select a user object or group from the Exclude pull-down menu to exempt it from DPI-SSL inspection.
|
|
•
|
The Common Name Exclusions section is used to add domain names to the exclusion list. To add a domain name, type it in the text box and click Add.
|
|
•
|
Click Update to confirm the configuration.
|
|
•
|
Internet Explorer: Go to Tools > Internet Options, click the Content tab and click Certificates. Click the Trusted Root Certification Authorities tab and click Import. The Certificate Import Wizard guides you through importing the certificate.
|
|
•
|
Firefox: Go to Tools > Options, click the Advanced tab and then the Encryption tab. Click View Certificates, select the Authorities tab, and click Import. Select the certificate file, make sure Trust this CA to identify websites is selected, and click OK.
|
|
•
|
Mac: Double-click the certificate file, select Keychain menu, click X509 Anchors, and then click OK. Enter the system username and password and click OK.
|
In this example, out.p12 becomes the PKCS-12 formatted certificate file and server.key and server.crt are the PEM formatted private key and certificate file respectively.