|
2
|
In the menu bar, go to SNMP > SNMP Manage Realtime Monitors.
|
|
4
|
Add a friendly name for the new monitor in the Monitor Name field.
|
|
5
|
If you wish to save the new monitor as a template for future use, select Save as template. Then, add a friendly name for the template.
|
|
6
|
|
Chart Style
Used only when display type is set to graph. |
|
7
|
Navigate to the MIB Tree list and select the OIDs you wish to add.
|
|
9
|
|
10
|
Enter a friendly name for the element you just added by double-clicking the display name field corresponding to the new element.
|
|
11
|
Specify a threshold value for the alert monitor in the Threshold field corresponding to the new element.
|
|
12
|
Click Apply to save changes and create the realtime monitor.
|
A set of Realtime Monitor templates are available for every appliance type the GMS manages, including UMH and Windows. This section allows the user to manage the two types of templates in the system: User-defined and System-Defined. User-defined templates are created from other Realtime Monitors by selecting Save as Template. User-defined templates can be edited or deleted. For user friendliness, system-defined templates are created as Factory Default templates. Unfortunately, these templates are read-only and cannot be edited or deleted.
|
1
|
|
3
|
Edit the existing name in the Monitor Name field.
|
|
4
|
|
Chart Style
Used only when display type is set to graph. |
|
5
|
Navigate to the MIB Tree list and select the OIDs you wish to add.
|
|
2
|
In the menu bar, go to SNMP > SNMP Apply Realtime Monitor Templates.
|
|
4
|
Click Apply to create the Realtime Monitor.
|
|
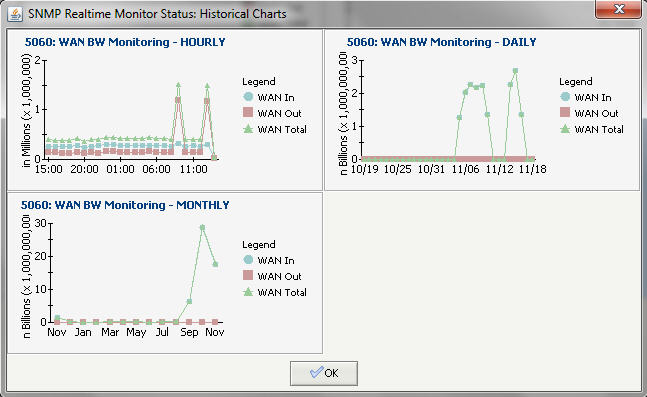
2
|
In the menu bar, select SNMP > SNMP Realtime Monitor Status.
|