|
2
|
|
3
|
To edit an existing email address object, click the pencil icon
|
|
4
|
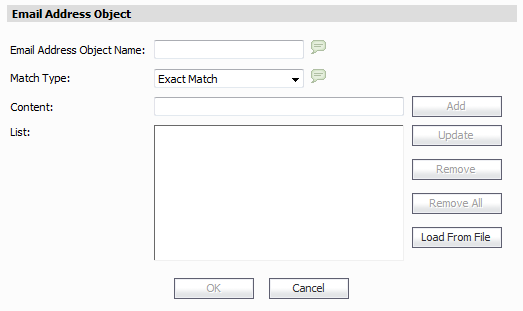
In the Email Address Object Name field, type a descriptive name for the action.
|
|
5
|
Select one of the following from the Match Type pull-down list:
|
|
•
|
Exact Match – To match the email address exactly
|
|
•
|
Partial Match – To match any part of the email address
|
|
6
|
In the Content text box, type the content to match and then click Add. Repeat this step until you have added as many elements as you want.
|
For example, to match on a domain, select Partial Match in the previous step and then type @ followed by the domain name in the Content field, for example, type: @sonicwall.com. To match on an individual user, select Exact Match in the previous step and then type the full email address in the Content field, for example: alan@sonicwall.com.
Alternatively, you can click Load From File to import a list of elements from a text file. Each element in the file must be on a line by itself. The maximum file size is 2048 bytes.
|
7
|
|
8
|
A description is automatically added in the Description field. Optionally change the description.
|
|
9
|
For Schedule, select one of the following radio buttons and set any associated fields:
|
|
•
|
Default – Use the default schedule configured for the Agent that manages this unit
|
|
•
|
Immediate – Create the object immediately
|
|
•
|
At – Select the exact time to activate this object using the pull-down lists for the hour, minute, time zone, month, and year. If your GMS deployment includes Agents in different time zones, you can select among them in the time zone pull-down list. Select the date from the calendar.
|
|
10
|
Click Accept to save the email address object with the selected schedule. Click Cancel to exit without saving the email address object.
|
At the unit level, you might need to refresh the Firewall > Email Address Objects page to see your new email address object in the list.