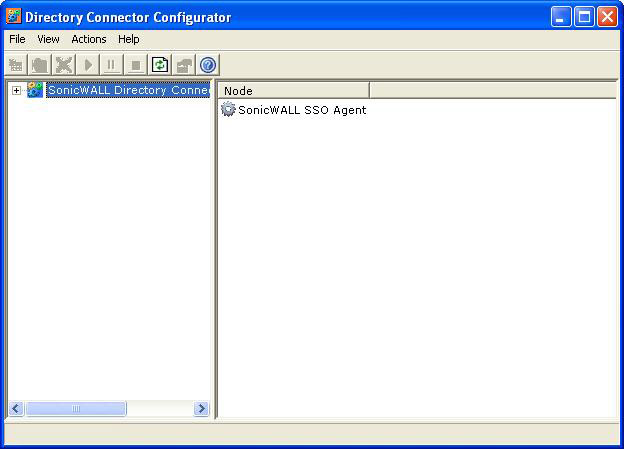
The SonicWall SSO Agent communicates with workstations using NetAPI or WMI, which both provide information about users that are logged into a workstation, including domain users, local users, and Windows services. WMI is pre-installed on Windows Server 2003, Windows XP, Windows ME, and Windows 2000. For other Windows versions, visit www.microsoft.com to download WMI. Verify that WMI or NetAPI is installed prior to configuring the SonicWall SSO Agent.
|
•
|
Navigating to Start > All Programs > SonicWall > SonicWall Directory Connector > SonicWall Configuration Tool.
|
If the IP address for a default SonicWall security appliance was not configured, or if it was configured incorrectly, a pop up will display. Click Yes to use the default IP address (192.168.168.168) or click No to use the current configuration.
If you clicked Yes, the message Successfully restored the old configuration will display. Click OK.
If you clicked No, or if you clicked Yes but the default configuration is incorrect, the message SonicWall SSO Agent service is not running. Please check the configuration and start the service. will display. Click OK.
If the message SonicWall SSO Agent service is not running. Please check the configuration and start the service displays, the SSO Agent service will be disabled by default. To enable the service, expand the SonicWall Directory Connector Configuration Tool in the left navigation panel by clicking the + icon, highlighting the SonicWall SSO Agent underneath it, and clicking the  button.
|
2
|
In the left-hand navigation panel, expand the SonicWall Directory Connector Configuration Tool by clicking the + icon.
|
|
3
|
|
4
|
From the Logging Level drop-down menu, select the level of events to be logged in the Windows Event Log. The default logging level is 1. Select one of the following levels:
|
|
•
|
Logging Level 0 - Only critical events are logged.
|
|
•
|
Logging Level 1 - Critical and significantly severe events are logged.
|
|
•
|
Logging Level 2 - All requests from the appliance are logged, using the debug level of severity.
|
|
5
|
In the Refresh Time field, enter the frequency, in seconds, that the SSO Agent will refresh user log in status. The default is 60 seconds.
|
|
6
|
From the Query Source drop-down menu, select the protocol that the SSO Agent will use to communicate with workstations, either NETAPI or WMI.
|
User identification via the Domain Controller Security Log can be configured for WMI with a non-administrator domain account. Although this option does not require use of the administrator domain account, it still requires read access to the security log, which can be accomplished by configuring a non-admin account. For more information, refer to the Configuring a Non-Admin Domain Account for SSO Agent to Read Security Logs technical note in the Support > Product Documentation page on SonicWall.com.
|
7
|
In the Configuration File field, enter the path for the configuration file. The default path is:
|
C:\Program Files\SonicWall\DCON\SSO\CIAConfig.xml
|
8
|
Click Accept.
|
|
9
|
Click OK.
|
|
3
|
Right click SonicWall Appliances.
|
|
4
|
Select Add.
|
|
5
|
Enter the appliance IP address for your SonicWall security appliance in the Appliance IP field.
|
|
6
|
Enter the port for the same appliance in the Appliance Port field. The default port is 2258.
|
|
7
|
Give your appliance a friendly name in the Friendly Name field.
|
|
•
|
Enter a shared key in the Shared Key field.
|
|
•
|
Click Generate Key to generate a shared key.
|
Your appliance will display in the left-hand navigation panel under the SonicWall Appliances tree.
You can edit all settings on SonicWall security appliances previously added in SonicWall SSO Agent, including IP address, port number, friendly name, and shared key. To edit a SonicWall security appliance in SonicWall SSO Agent, select the appliance from the left-hand navigation panel and click the edit icon  above the left-hand navigation panel. You can also click the Edit tab at the bottom of the right-hand window.
To delete a SonicWall security appliance you previously added in SonicWall SSO Agent, select the appliance from the left-hand navigation panel and click the Delete icon above the left-hand navigation panel.
You can start, stop, and pause SonicWall SSO Agent services to SonicWall security appliances:
|
•
|
|
•
|
|
•
|
To resume services, click the Start button.
|
|
NOTE: You may be prompted to restart services after making configuration changes to a SonicWall security appliance in the SonicWall SSO Agent. To restart services, press the Stop button then press the Start button.
|