Creating Local Groups

This procedure creates Local Groups that belong to the SNWL_AD domain on the SRA appliance. We create one local group for each Active Directory group.

Adding the Local Groups

1
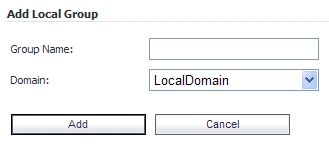
Navigate to the Users > Local Groups page and click Add Group. The Add Local Group window appears. We will add three local groups, corresponding to our Active Directory groups.

2
In the Add Local Group window, type Acme_Group into the Group Name field.
3
Select SNWL_AD from the Domain drop-down list.
4
Click Add.
5
On the Users > Local Groups page, click Add Group to add the second local group.
6
In the Add Local Group window, type Mega_Group into the Group Name field.
7
Select SNWL_AD from the Domain drop-down list.
8
Click Add.
9
On the Users > Local Groups page, click Add Group to add the second local group.
10
In the Add Local Group window, type IT_Group into the Group Name field.
11
Select SNWL_AD from the Domain drop-down list.
12
Click Add.
13
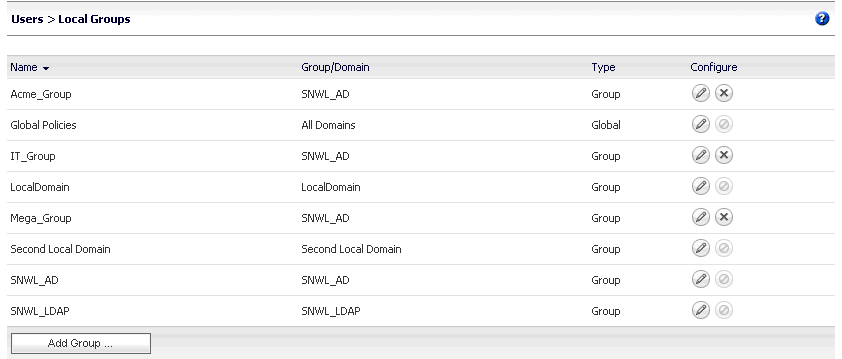
View the added groups on the Users > Local Groups page.

Configuring the Local Groups

In this procedure we will edit each new local group and associate it with the corresponding Active Directory Group.

1
Click the Configure button in the Acme_Group row. The Edit Group Settings window appears.

2
In the Edit Group Settings window, click the AD Groups tab.
3
On the AD Groups tab, click the Add Group button.
4
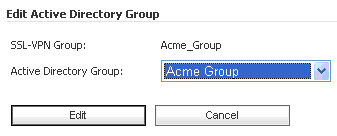
In the Edit Active Directory Group window, select Acme Group from the Active Directory Group drop-down list.

5
Click Edit.

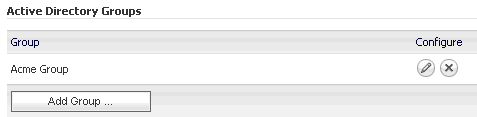
Acme Group is listed in the Active Directory Groups table on the AD Groups tab.

6
In the Edit Group Settings window, click OK.
7
On the Users > Local Groups page, click the Configure button in the Mega_Group row. The Edit Group Settings window appears.
8
In the Edit Group Settings window, click the AD Groups tab and then click the Add Group button.
9
In the Edit Active Directory Group window, select Mega Group from the Active Directory Group drop-down list and then click Edit.

Mega Group is listed in the Active Directory Groups table on the AD Groups tab.

10
In the Edit Group Settings window, click OK.
11
On the Users > Local Groups page, click the Configure button in the IT_Group row. The Edit Group Settings window appears.
12
In the Edit Group Settings window, click the AD Groups tab and then click the Add Group button.
13
In the Edit Active Directory Group window, select IT Group from the Active Directory Group drop-down list and then click Edit.

IT Group is listed in the Active Directory Groups table on the AD Groups tab.

14
In the Edit Group Settings window, click OK.

At this point, we have created the three Local Groups and associated each with its Active Directory Group.