You can search for a value contained in a certain column of the log table, and can also search for log entries that do not contain the specified value.
|
1
|
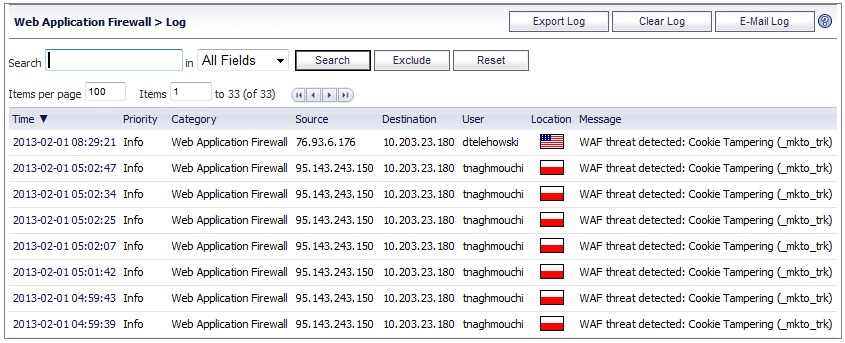
On the Web Application Firewall > Log page, enter the number of log entries that you want on each page into the Items per Page field. The Log page display changes to show the new number of entries.
|
|
2
|
To view the log entries beginning at a certain number, type the starting number into the Item field and press Enter on your keyboard.
|
The log entry details vary with the type of log entry. The URI (Uniform Resource Indicator) is provided along with the command for detected threats. Information about the agent that caused the event is also displayed. For an explanation of the rather cryptic Agent string, the following Wikipedia page provides a description and links to external sites that can analyze any user agent string: http://en.wikipedia.org/wiki/User_agent

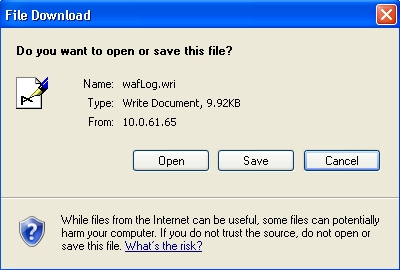
Exported files are saved with a .wri file name extension, and open with Wordpad, by default.
Emailed files are automatically sent to the address configured on the Log > Settings page of the SRA management interface. If no address is configured, the Status line at the bottom of the browser will display an error message when you click the E-Mail Log button on the Web Application Firewall > Log page.
![]()
|
1
|
To export the log contents, click the Export button in the top right corner of the Web Application Firewall > Log page. The File Download dialog box is displayed.
|
|
•
|
To open the file, click Open.
|
|
•
|
To save the file, click Save, then browse to the folder where you want to save the file and click Save.
|
|
3
|
To email the log contents, click the E-Mail Log button in the top right corner of the Web Application Firewall > Log page. The log contents are emailed to the address specified in the Log > Settings page.
|
![]()
|
2
|
Click OK in the confirmation dialog box.
|