
Clicking the Configure Gateway AV Settings button at the bottom of the Gateway Anti-Virus Global Settings table displays the Gateway AV Config View window, which allows you to configure clientless notification alerts and create aSonicWall GAV exclusion list.
You can enable or disable these AV settings:
|
•
|
Disable SMTP Responses - If you want to suppress the sending of email messages (SMTP) to clients from SonicWall GAV when a virus is detected in an email or attachment, select the Disable SMTP Responses check box. By default, the setting is disabled.
|
|
•
|
Disable detection of EICAR test virus - Disables detection of the EICAR test virus (disabling detection of this test virus helps reduce false positives when other vendors’ client AV definitions are downloaded). By default, the setting is enabled.
|
|
•
|
Enable HTTP Byte-Range requests with Gateway AV - Allows usage of HTTP byte range requests when GAV is enabled. By default, the setting is enabled.
|
|
•
|
Enable FTP ‘REST’ requests with Gateway AV - Allows FTP REST command usage when GAV is enabled. By default, the setting is enabled.
|
|
•
|
Do not scan parts of files with high compression ratios. - Disables the scanning of files with high compression ratios. By default, the setting is enabled, which disables scanning of these types of files.
|
|
•
|
Block files with multiple levels of zip/gzip compression - Suppresses the receiving of multi-level zip/gzip files in an email attachment. By default, the setting is disabled.
|
To configure this feature, check the Enable HTTP Clientless Notification Alerts check box and enter a message in the Message to Display when Blocking field, as shown below.
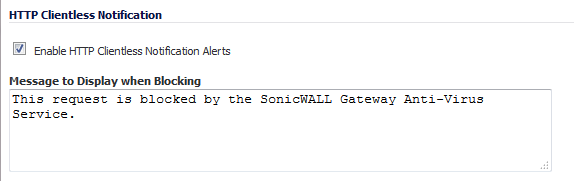
Optionally, you can configure the timeout for the HTTP Clientless Notification on the Security Services > Summary page under the Security Services Summary heading.
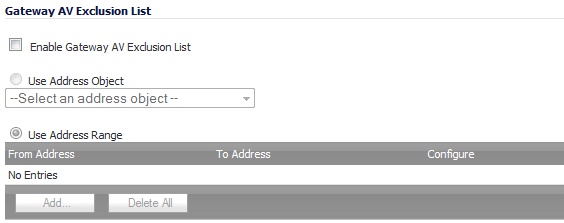
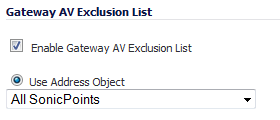
Any IP addresses listed in the exclusion list bypass virus scanning on their traffic.The Gateway AV Exclusion List section provides the ability to define a range of IP addresses whose traffic will be excluded from SonicWall GAV scanning.
|
1
|
|
2
|
Click the Enable Gateway AV Exclusion List check box to enable the exclusion list feature. The radio button and Add… button for Use Address Range become active. You can do any or all of the following:
|
|
•
|
Add multiple ranges to the Gateway AV Exclusion List table as described in Adding a range to be excluded.
|
|
•
|
Configure or delete excluded ranges in the Gateway AV Exclusion List table, as described in Modifying a Gateway AV Exclusion List table entry
|
|
•
|
Delete excluded ranges in the Gateway AV Exclusion List table, as described in Deleting entries in the Gateway AV Exclusion List table
|
|
•
|
|
3
|
|
4
|
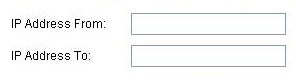
Enter the IP address range in the IP Address From and IP Address To fields, then click OK. You IP address range is added to the Gateway AV Exclusion List table and the window closes. The message, The configuration has been updated., displays in the status line.
|
|
5
|
To add other ranges to the Gateway AV Exclusion List table, repeat Step 1 through Step 4 for each range to be excluded.
|
|
1
|
To change an entry in the Configure column, click the Edit icon for that entry. The Edit GAV Range Entry dialog displays.
|
|
3
|
Click OK. The modifications are made to the Gateway AV Exclusion List table and the dialog closes. The message, The configuration has been updated., displays in the status line.
|
|
4
|
|
1
|
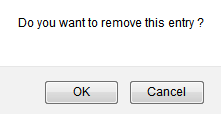
To delete an entry from the Gateway AV Exclusion List table, click the Delete icon. To delete all the excluded ranges, click the Delete All button. A warning message displays, asking for confirmation of the deletion.
|
|
2
|
Click OK. The entry is removed from the Gateway AV Exclusion List table and the window closes.
|
|
1
|
In the Gateway AV Exclusion List section, click the Use Address Object radio button. The drop-down menu becomes available.
|
|
3
|
You can reset all your Gateway Anti-Virus Settings to factory default values by clicking the Reset Gateway AV Settings button. A warning message displays.
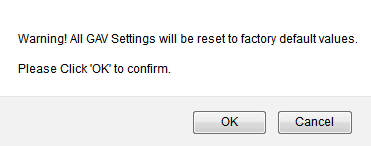
To completely remove your Gateway Anti-Virus Settings and restore the factory default values, click OK. Otherwise, click Cancel.