
The configuration tasks on the High Availability > Settings page are performed on the Primary unit and then are automatically synchronized to the Secondary.
|
1
|
Navigate to High Availability > Settings.
|
|
2
|
|
3
|
To configure Stateful High Availability select Enable Stateful Synchronization. This option is not selected by default.
|
|
4
|
To back up the settings when you upgrade the firmware version, select Generate/Overwrite Backup Firmware and Settings When Upgrading Firmware. This option is not selected by default.
|
|
5
|
To configure the High Availability Pair so that the Primary unit takes back the Primary role once it restarts after a failure, select Enable Preempt Mode. This option is not selected by default. Preempt mode is recommended to be disabled when enabling Stateful High Availability, because preempt mode can be over-aggressive about failing over to the Secondary appliance.
|
|
6
|
Select the Enable Virtual MAC checkbox to allow the Primary and Secondary appliances to share a single MAC address. This greatly simplifies the process of updating network ARP tables and caches when a failover occurs. Only the switch to which of the two appliances are connected needs to be notified. All outside devices continue to route to the single shared MAC address. This option is not selected by default.
|
|
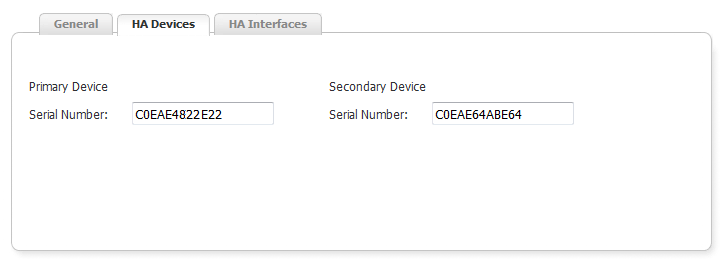
7
|
|
8
|
|
9
|
Click the HA Interfaces tab.
|

|
10
|
Select the HA control interface from the HA Control Interface drop-down menu. This option is grayed out if the appliance detects that the interface is already configured.
|
|
11
|
Select the HA data interface from the HA Data Interface drop-down menu. This option is grayed out if the appliance detects that the interface is already configured.
|
|
12
|
When finished with all High Availability configuration, click Apply. All settings will be synchronized to the Standby unit, and the Standby unit will reboot.
|