|
1
|
|
2
|
Click the Configure icon in the right column of interface X2.
|
|
3
|
|
4
|
|
9
|
Click OK.
|
|
1
|
|
2
|
Click the Configure icon in the right column of the X3 interface.
|
|
3
|
|
4
|
|
5
|
|
6
|
Do not enable the Block all non-IPv4 traffic setting if you want to monitor non-IPv4 traffic.
|
|
7
|
Select Never route traffic on this bridge-pair to ensure that the traffic from the mirrored switch port is not sent back out onto the network.
|
|
8
|
Select Only sniff traffic on this bridge-pair to enable sniffing or monitoring of packets that arrive on the L2 Bridge from the mirrored switch port.
|
|
9
|
Select Disable stateful-inspection on this bridge-pair to exempt these interfaces from stateful high availability inspection. If Deep Packet Inspection services are enabled for these interfaces, the DPI services will continue to be applied.
|
|
11
|
Click OK.
|
More than 50 IPS and GAV events currently trigger SNMP traps. The SonicOS Log Event Reference Guide contains a list of events that are logged by SonicOS, and includes the SNMP trap number where applicable. The guide is available online at http://www.sonicwall.com/us/Support.html by typing Log Event into the Search field at the top of the page.
To determine the traps that are possible when using IPS Sniffer Mode with Intrusion Prevention enabled, search for Intrusion in the table found in the Index of Log Event Messages section in the SonicOS Log Event Reference Guide. The SNMP trap number, if available for that event, is printed in the SNMP Trap Type column of the table.
To determine the possible traps with Gateway Anti-Virus enabled, search the table for Security Services, and view the SNMP trap number in the SNMP Trap Type column.
|
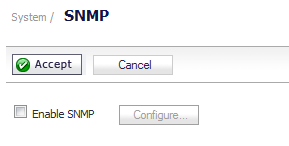
1
|
Navigate to the System > SNMP page.
|
|
2
|
Select Enable SNMP.
|
|
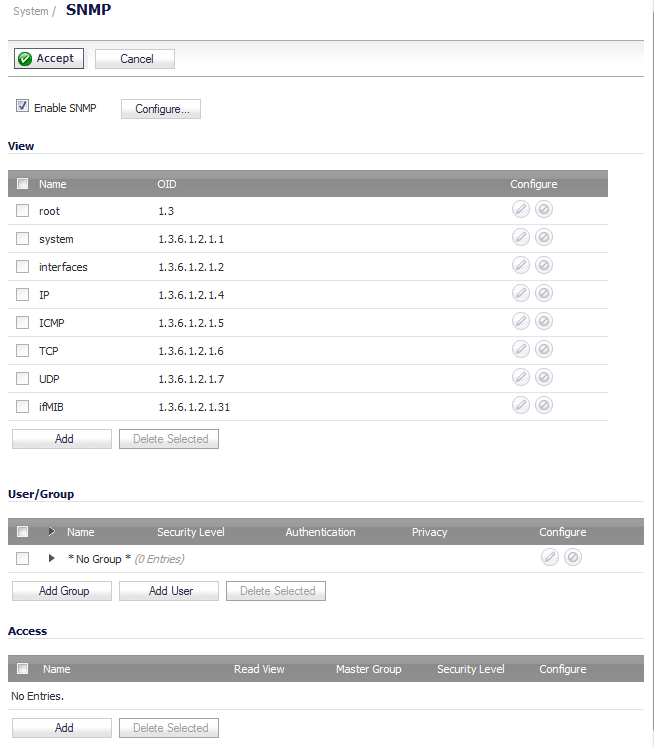
3
|
Click Accept. The Configure icon becomes active and the View, User/Group, and Access sections are displayed.
|
|
4
|
|
12
|
Click OK.
|