|
a
|
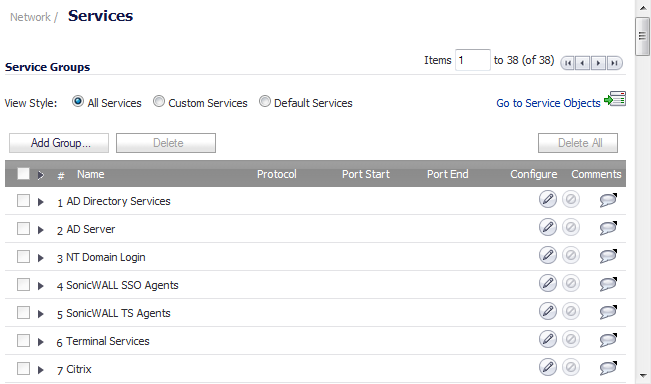
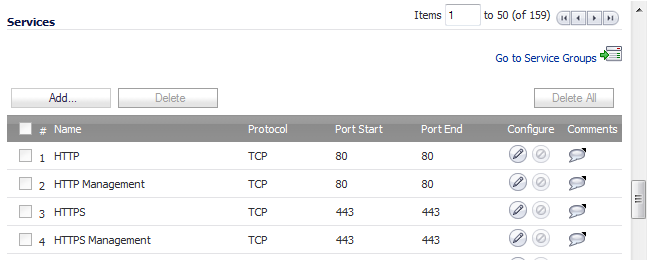
Go to the Network > Services page.
|
|
b
|
|
c
|
|
d
|
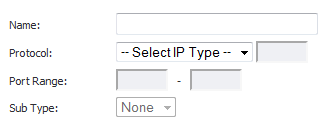
Give your custom service a friendly name such as webserver_public_port.
|
|
e
|
|
f
|
For the Port Range fields, enter in 9000 as the starting port number for the service and as its ending port number.
|
|
g
|
When done, click on the Add button to save the custom service. The message Done adding Service object entry displays.
|
|
h
|
|
a
|
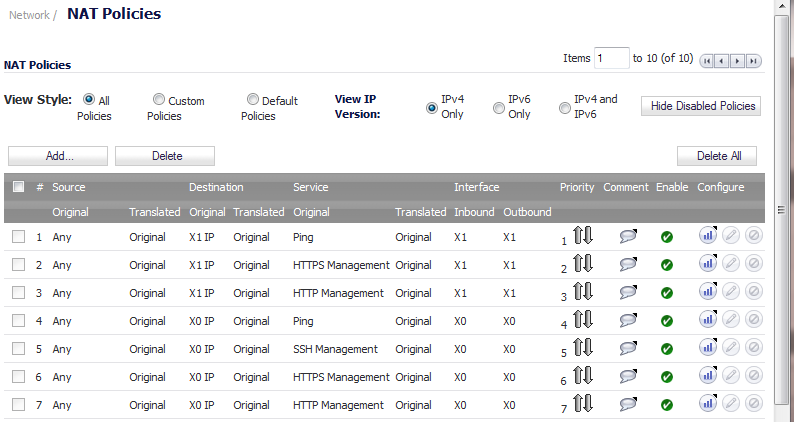
Go to the Network > NAT Policies page.
|
|
b
|
Click on the Edit button next to this NAT policy. The Edit NAT Policy dialog displays for editing the policy.
|
|
•
|
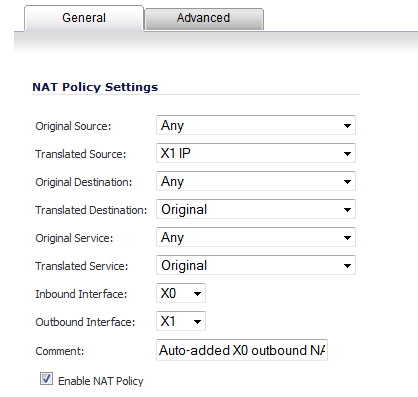
Original Source: Any
|
|
•
|
Translated Source: Original
|
|
•
|
Original Destination: webserver_public_ip
|
|
•
|
Translated Destination: webserver_private_ip
|
|
•
|
Original Service: webserver_public_port (or whatever you named it above)
|
|
•
|
Translated Service: HTTP
|
|
•
|
|
•
|
Outbound Interface: Any
|
|
•
|
Comment: Enter a short description
|
|
•
|
Enable NAT Policy: Checked
|
|
NOTE: Make sure you chose Any as the destination interface, and not the interface that the server is on. This may seem counter-intuitive, but it is actually the correct thing to do (if you try to specify the interface, you get an error).
|
|
d
|
When finished, click the OK button to add and activate the NAT Policy.
|
|
a
|
Go to the Firewall > Access Rules section and choose the policy for whatever zone you put your server in.
|

|
b
|
Click on the Edit button to bring up the previously created policy in the Edit Rule window.
|

|
•
|
Action: Allow
|
|
•
|
Service: server_public_port (or whatever you named it above)
|
|
•
|
Source: Any
|
|
•
|
Destination: webserver_public_ip
|
|
•
|
Users Allowed: All
|
|
•
|
Schedule: Always on
|
|
•
|
Logging: checked
|
|
•
|
Comment: (enter a short description)
|
|
d
|
Click the OK button.
|