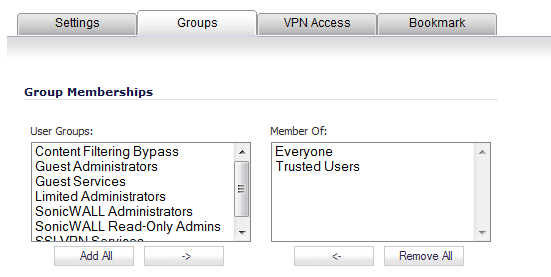
For users to be able to access SSL VPN services, they must be assigned to the SSLVPN Services group. Users who attempt to login through the Virtual Office who do not belong to the SSLVPN Services group will be denied access.
|
1
|
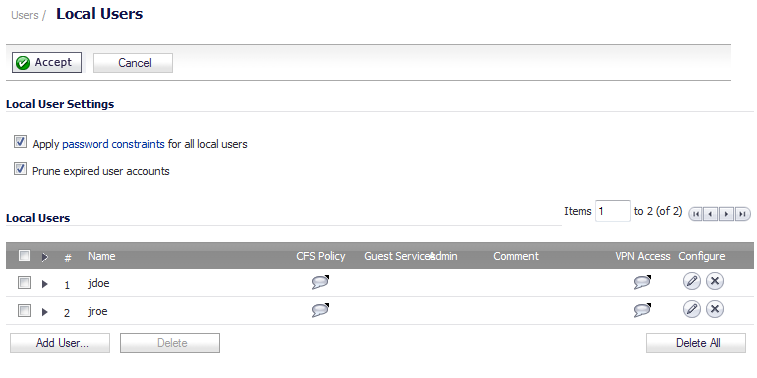
Navigate to the Users > Local Users page.
|
|
2
|
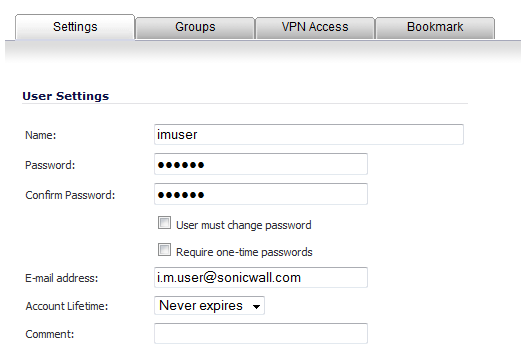
Click on the Configure icon for the user you want to edit, or click the Add User button to create a new user. The Edit User or (Add User) dialog displays.
|
|
3
|
|
4
|
|
5
|
|
6
|
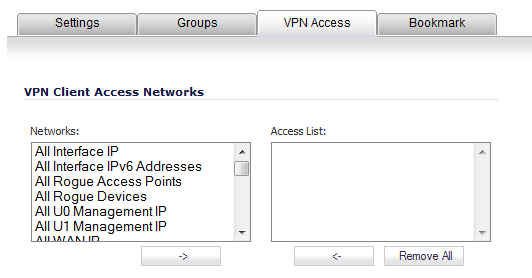
Click on the VPN Access tab. The VPN Access tab configures which network resources VPN users (GVC, NetExtender, or Virtual Office bookmarks) can access.
|
|
NOTE: The VPN Access tab affects the ability of remote clients using GVC, NetExtender, and SSL VPN Virtual Office bookmarks to access network resources. To allow GVC, NetExtender, or Virtual Office users to access a network resource, the network address objects or groups must be added to the Access List on the VPN Access tab.
|
|
7
|
Select one or more network address objects or groups from the Networks list and click the Right Arrow button to move them to the Access List column.
|
To remove the user’s access to a network address objects or groups, select the network from the Access List, and click the Left Arrow button .
|
8
|
Click OK.
|
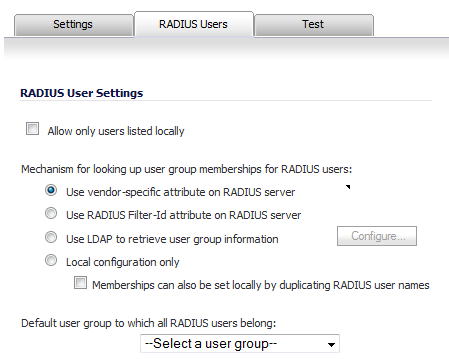
To configure RADIUS users for SSL VPN access, you must add the users to the SSLVPN Services user group.
|
1
|
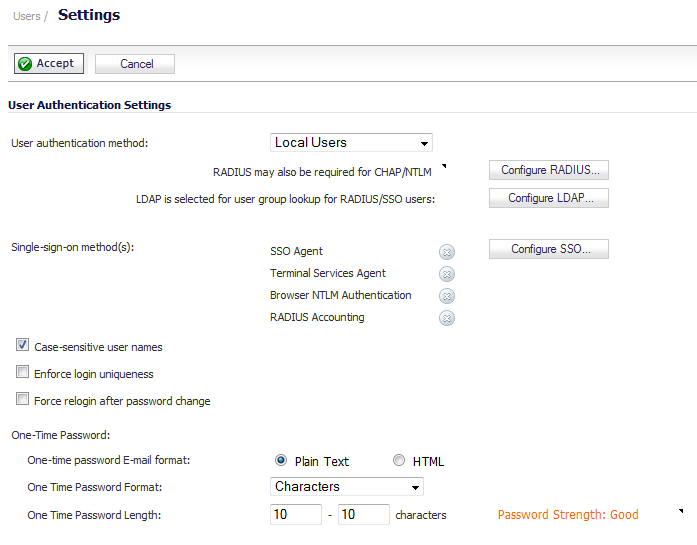
Navigate to the Users > Settings page.
|
|
2
|
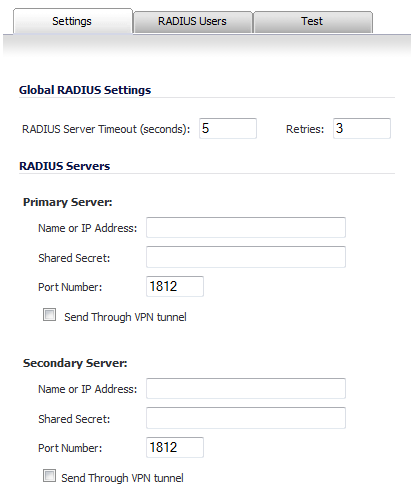
In the Authentication Method for login drop-down menu, select RADIUS or RADIUS + Local Users. The options change slightly.
|
|
3
|
|
4
|
Click the RADIUS Users tab.
|
|
5
|
|
NOTE: The VPN Access tab in the Edit User dialog is also another granular control on access for both Virtual Office Bookmarks and for NetExtender access.
|
|
6
|
Click OK.
|
|
1
|
Navigate to the Users > Settings page.
|
|
2
|
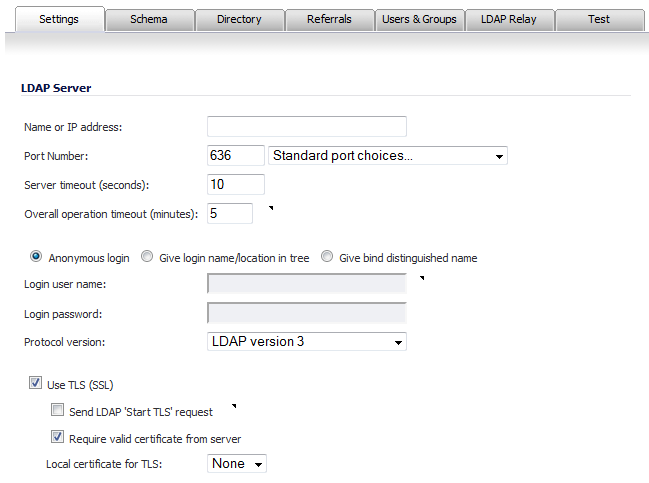
From the User authentication method drop-down menu, select either LDAP or LDAP + Local Users. The options change slightly.
|
|
3
|
|
4
|
Click on the Users & Groups tab.
|
|
5
|
|
NOTE: The VPN Access tab in the Edit User dialog is also another granular control on access for both Virtual Office Bookmarks and for NetExtender access.
|
|
6
|
Click OK.
|
