When adding or editing a local group, you can add other local groups as members of the group.
|
1
|
|
2
|
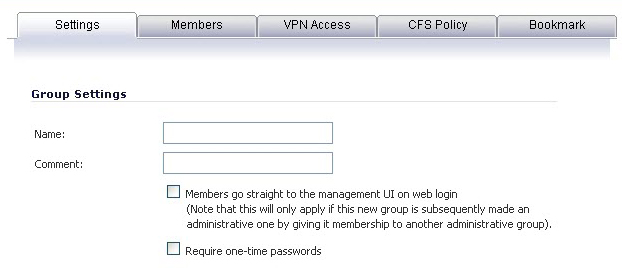
On the Settings tab, type a user name into the Name field. Optionally, you may select the Members go straight to the management UI on web login check box. This selection will only apply if this new group is subsequently given membership in another administrative group. You may also select the Require one-time passwords check box to require SSL VPN users to submit a system-generated password for two-factor authentication. Users must have their email addresses set when this feature is enabled.
|
|
3
|
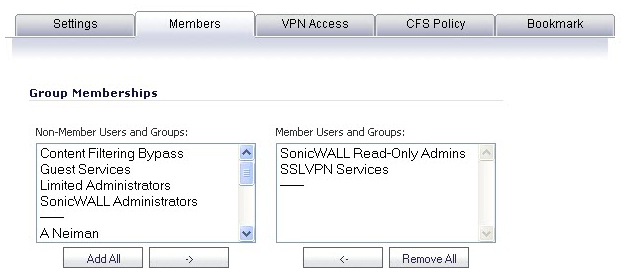
On the Members tab, to add users and other groups to this group, select the user or group from the Non-Members Users and Groups list and click the right arrow button.
|
|
4
|
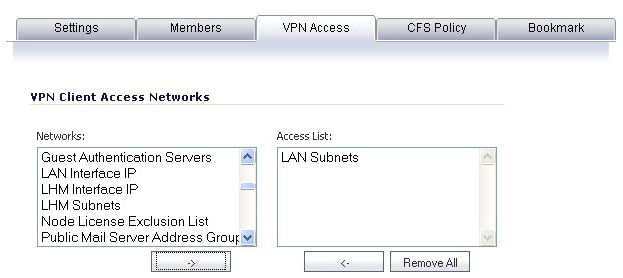
The VPN Access tab configures which network resources VPN users (either GVC, NetExtender, or Virtual Office bookmarks) can access. On the VPN Access tab, select one or more networks from the Networks list and click the right arrow button (->) to move them to the Access List column. To remove the user’s access to a network, select the network from the Access List, and click the left arrow button (<-).
|
|
NOTE: The VPN access tab affects the ability of remote clients using GVC, NetExtender, and SSL VPN Virtual Office bookmarks to access network resources. To allow GVC, NetExtender, or Virtual Office users to access a network resource, the network address objects or groups must be added to the “allow” list on the VPN Access tab.
|
|
NOTE: You can configure SSL VPN Access Lists for numerous users at the group level. To do this, build an Address Object on the Network > Address Objects management interface, such as for a public file server that all users of a group need access to. This newly created object now appears on the VPN Access tab under Networks, so that you may assign groups by adding it to the Access List.
|
|
5
|
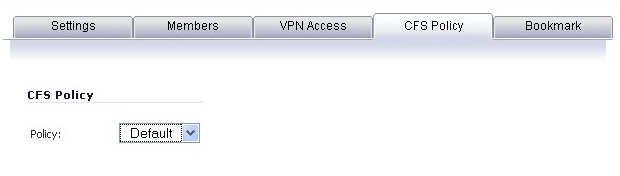
On the CFS Policy tab, to enforce a custom Content Filtering Service policy for this group, select the CFS policy from the Policy drop-down menu.
|
|
NOTE: You can create custom Content Filtering Service policies in the Security Services > Content Filter page. See Security Services > Content Filter.
|
|
6
|
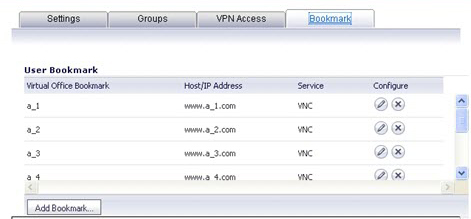
On the Bookmark tab, you can add, edit, or delete Virtual Office bookmarks for each group.
|
|
7
|
Click OK.
|