PANEL_scSslCtrlCustomLists
To configure the Whitelist and Blacklist, click the Configure button to bring up the following window.
Entries can be added, edited and deleted with the buttons beneath each list window.
Note List matching will be based on the subject common name in the certificate presented in the SSL exchange, not in the URL (resource) requested by the client.
Changes to any of the SSL Control settings will not affect currently established connections; only new SSL exchanges that occur following the change commit will be inspected and affected.
Once SSL Control has been globally enabled, and the desired options have been configured, SSL Control must be enabled on one or more zones. When SSL Control is enabled on the zone, the SonicWALL looks for Client Hellos sent from clients on that zone through the SonicWALL will trigger inspection. The SonicWALL then looks for the Server Hello and Certificate that is sent in response for evaluation against the configured policy. Enabling SSL Control on the LAN zone, for example, will inspect all SSL traffic initiated by clients on the LAN to any destination zone.
Note If you are activating SSL Control on a zone (for example, the LAN zone) where there are clients who will be accessing an SSL server on another zone connected to the SonicWALL (for example, the DMZ zone) it is recommended that you add the subject common name of that server’s certificate to the whitelist to ensure continuous trusted access.
To enable SSL Control on a zone, browse to the Network > Zones page, and select the configure icon for the desired zone. In the Edit Zone window, select the Enable SSL Control checkbox, and click OK. All new SSL connections initiated from that zone will now be subject to inspection.
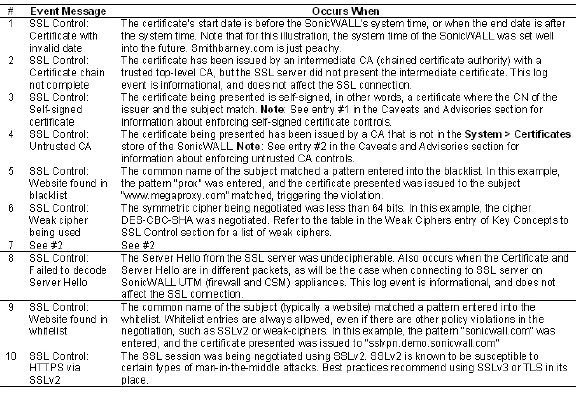
Log events will include the client’s username in the notes section (not shown) if the user logged in manually, or was identified through CIA/Single Sign On. If the user’s identity is not available, the note will indicate that the user is Unidentified.
|
